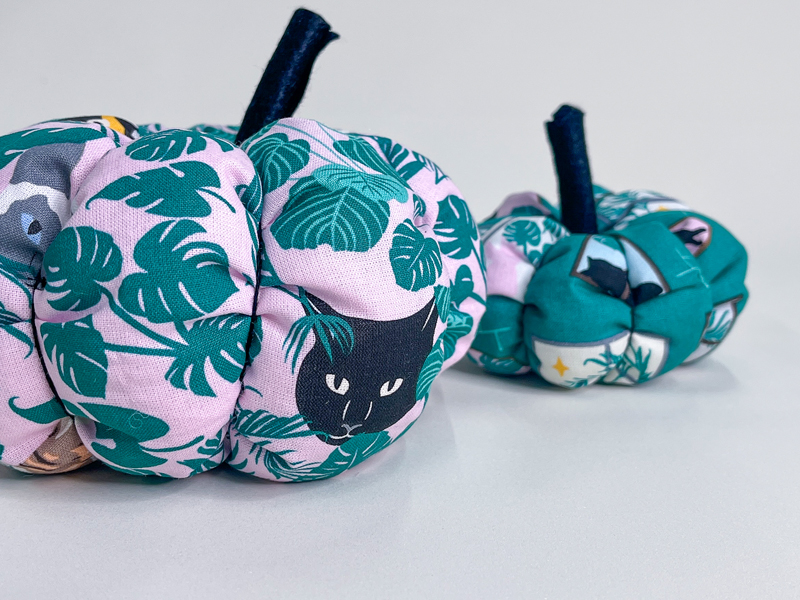
I’ve seen lots of these adorable fabric pumpkins around so I thought they would make the perfect project for this month’s theme. They’re super easy and can actually be made without a sewing machine at all!
You will need:
- Fabric fat quarters – iron to get any creases/folds out
- Sewing machine with a universal needle (optional)
- Thread
- Rotary cutter & cutting mat / Fabric scissors
- Tape measure or ruler. I actually use a quilting ruler.
- Hand sewing needles
- Embroidery Floss
- Extra strong/Upholstery thread (if desired)
- Polyester toy fill (You could repurpose a cushion/duvet or even use fabric scraps)
- Small piece of felt
- Craft glue
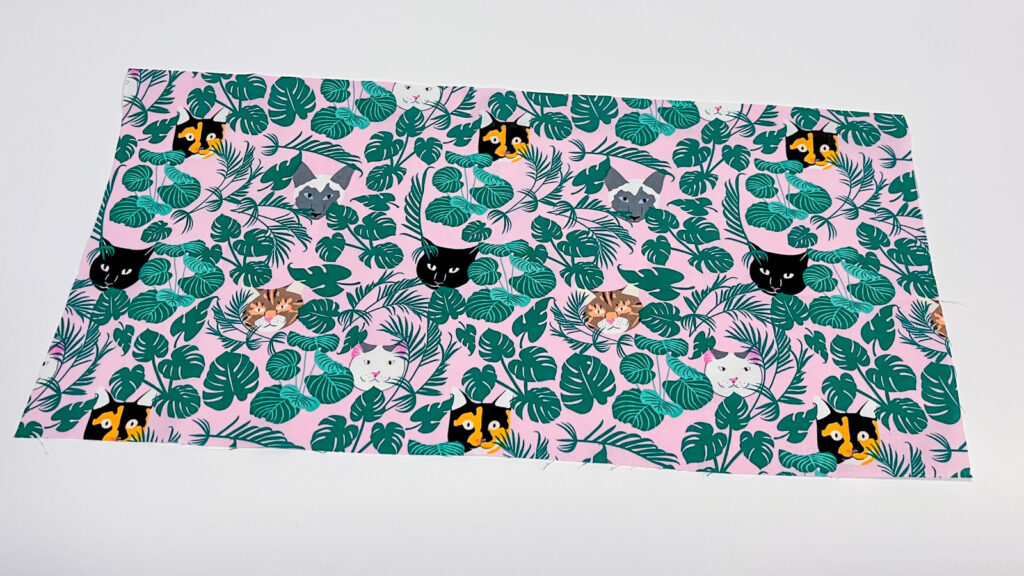
- Cut a rectangle from one fat quarter. The size will depend on the size of pumpkin you want to make. Your rectangle length should be approximately double the height.
Mine is 20” long by 10” tall.
- Fold the rectangle right sides together and sew down the short edge (I did this on my sewing machine, using a ½” seam allowance, but it could easily be done by hand too). Press the seam allowance open or to one side.
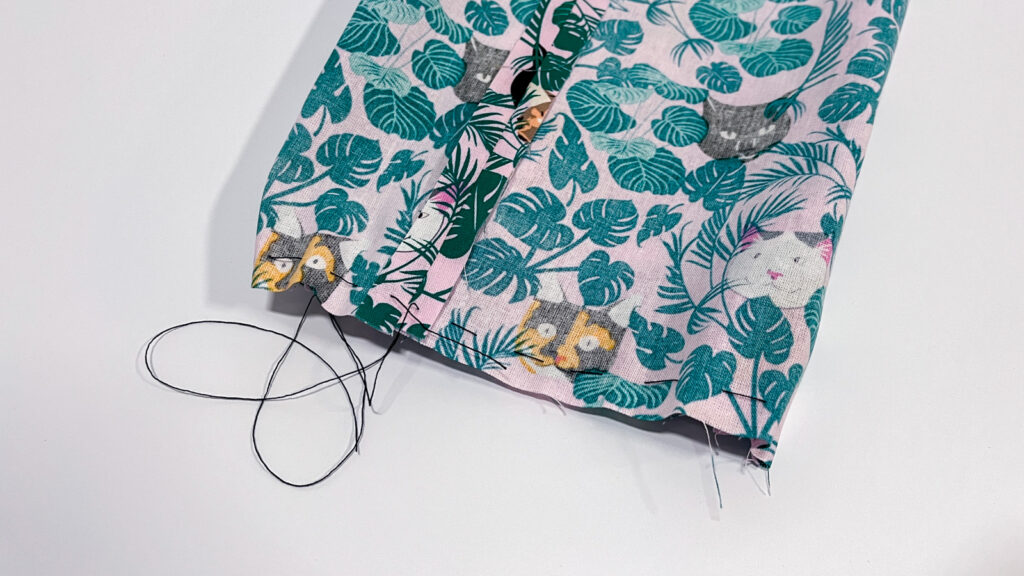
- Hand sew a line of running stitches all the way around the bottom of the fabric, approx ½” from the raw edge. I use extra strong/upholstery thread for this, as it reduces the risk of the thread snapping. Leave a thread tail as we will pull on this to gather it up.
- Pull on the thread at each end to gather it up, as tightly as you can.
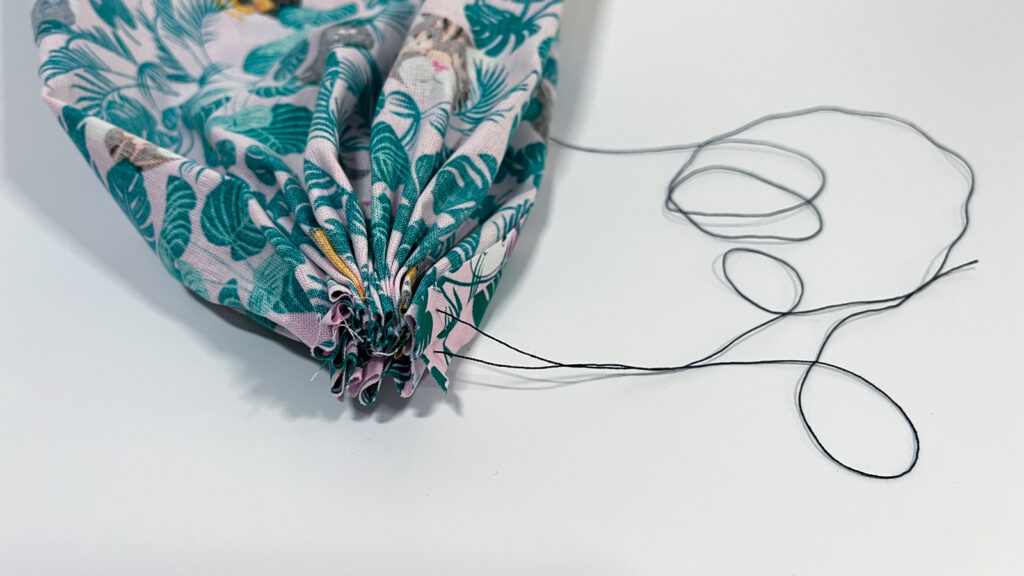
- Knot the thread ends together, pulling tightly to secure. I did 3 knots. Then trim off the shorter thread tail. Rethread your needle and sew through some of the layers of the gathered fabric a few times to add extra security, then tie off and trim your thread.
- Turn your project right sides out.
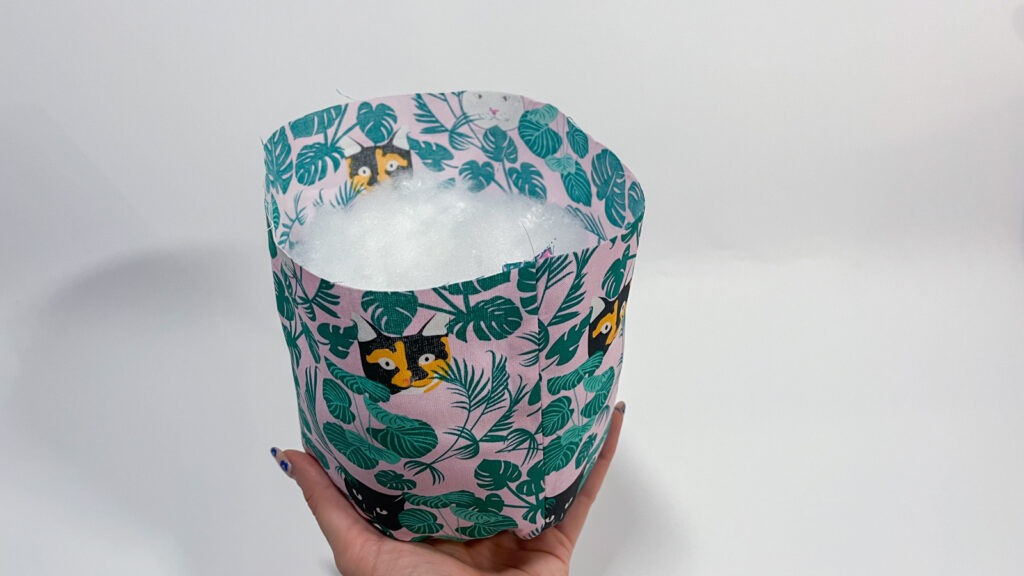
- Stuff with toy fill (or whatever you are using). You want it to be nice and plump! Keep going until the fill is about 2” from the top.
- Repeat steps 3 and 4 to gather the top of the pumpkin, then tie the threads in a double knot and trim the ends off.
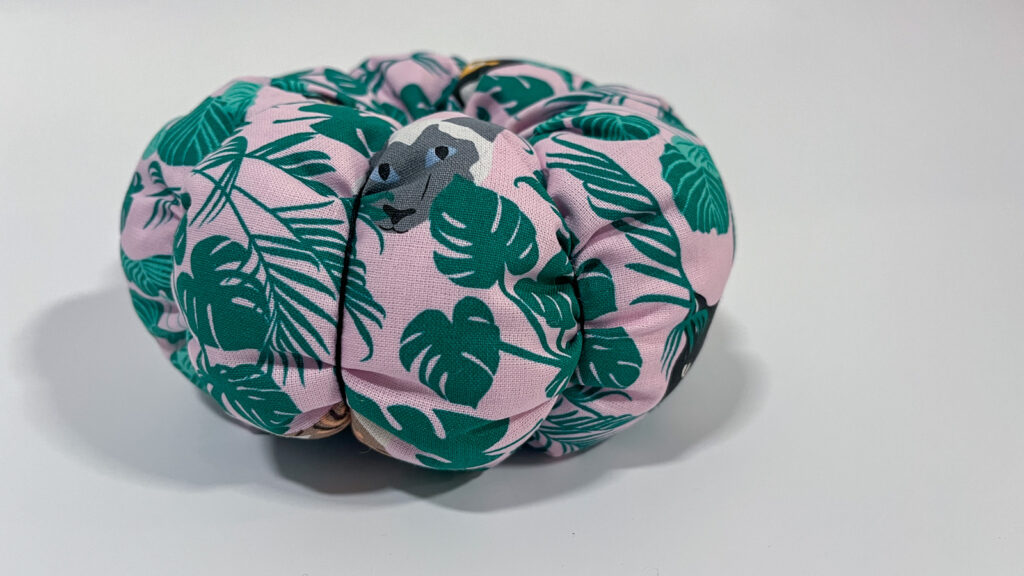
- Thread a large-eyed needle with a length of embroidery floss (don’t separate the strands – keep it all together). Knot the end a couple of times. Insert the needle up through the centre of the pumpkin and out through the top, pulling the thread through. Now wrap the thread around the outside of the pumpkin and insert the needle back up through the centre and out through the top again. Pull quite tightly here.
Repeat this a total of 8 times (I did opposite sides each time, so dividing the pumpkin into halves first, then quarters, then eighths).
You may run out of thread part way through – simply tie the end off or knot it through the bottom of the pumpkin to secure, then start with a new piece of thread.
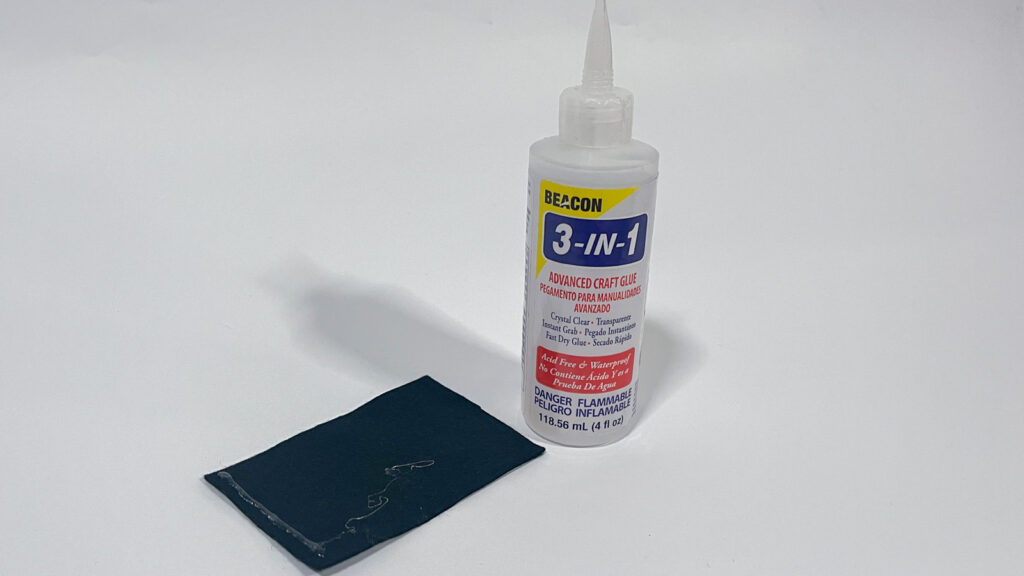
- Cut a rectangle of felt, approx. 2.5” tall x 4” long. Apply some craft glue to one of the short edges.
- Roll the felt rectangle up, starting with the glue end. When you nearly reach the other end, add another line of glue, then fully roll up and hold until dry.
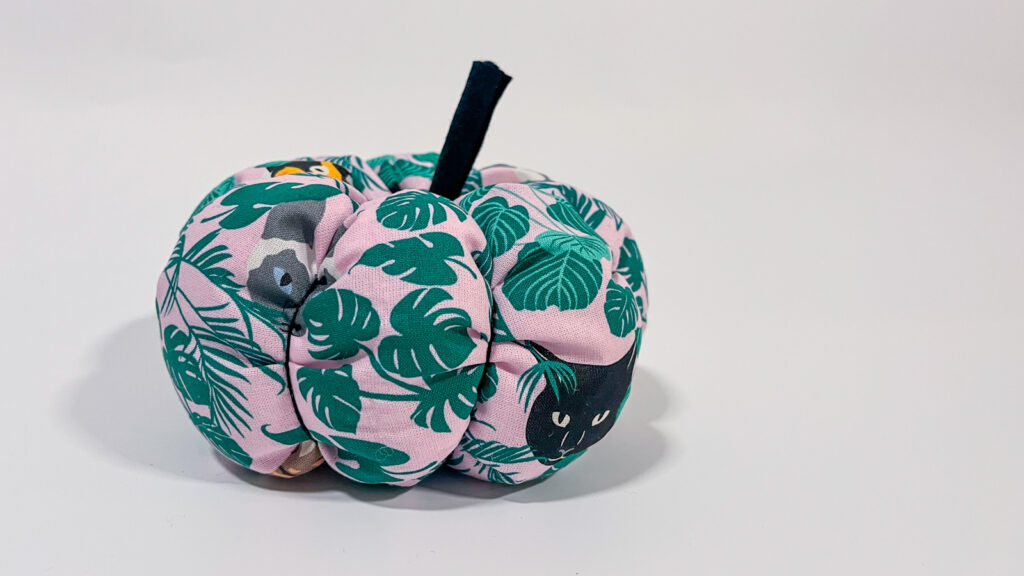
- Apply some glue to the centre top of the pumpkin and some to one end of the felt roll. Place the felt roll into the centre top of the pumpkin and hold until dry.
And there you go – your adorable pumpkin decoration is ready!
I then made a smaller version, 14” long by 7” tall. You can adapt the measurements to suit your needs and make a whole family of pumpkins!
If you get stuck on any aspects of the tutorial, please feel free to send me a message and I’ll help.
Share your finished makes on instagram, using the hashtag #SewHayleyJaneFQ and tag me @sewn_on_the_tyne
See you next month,
Tamlyn xx

