Fat Quarter Make; Reusable Make Up Wipes

With this month’s theme being based around dreams, I got thinking about what makes up my bedtime routine. An important part, for me, is taking the time to remove my make-up properly and apply some skin care products to my face. This immediately makes me feel calm and it helps me to wake up fresher the next morning. I prefer to use handmade, reusable make-up wipes for this, so in this month’s tutorial I thought I’d show you how I make mine.
You will need:
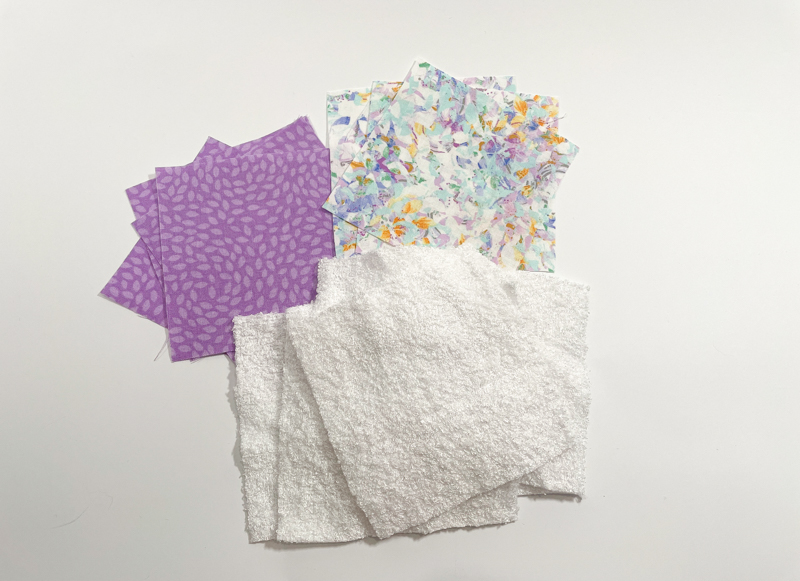
- Fabric fat quarters – iron these to get any creases/folds out
- Towelling (I use Bamboo Towelling, purchased from 1st For Fabrics, which is really soft and gentle on the skin)
- Ribbon
- Cardboard / Paper
- Sewing machine with a universal needle
- Thread
- Rotary cutter & cutting mat / Fabric scissors
- Ruler / tape measure
- Pins / Clips
Remember to back stitch at the start and end each time you sew – this is essential to secure your stitches.
I’ll be using a ½” seam allowance throughout, unless specified.
- Decide on a size for your make up wipes – I like to use 4” square. Cut out 7 squares from your fat quarters and 7 from your towelling. I cut a template out of cardboard to make this easier.

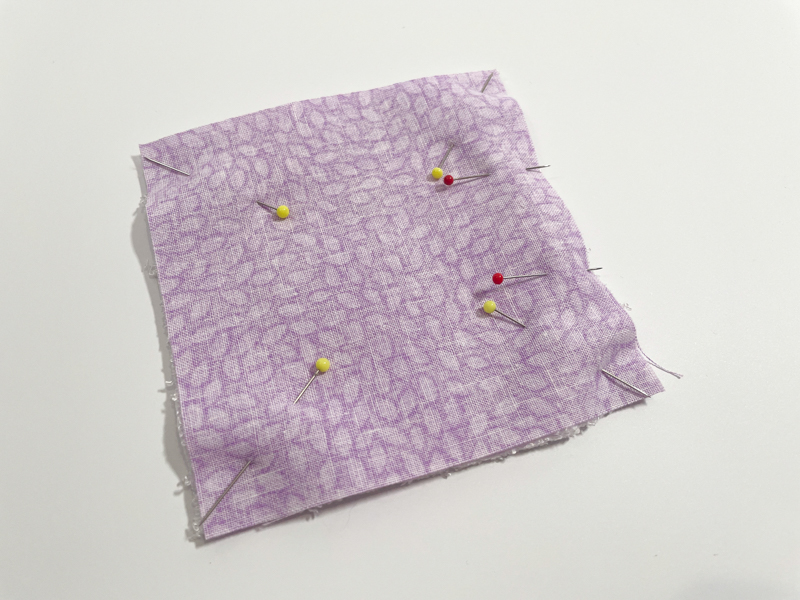
- Take one fabric square and one towelling square, place them right sides together and pin around the outside. Repeat until you have matched up all 7 pairs.

- Using a straight stitch, sew around the outside of each square, leaving a gap on one side for turning through later (I leave approx 1.5”).

- Snip across the corners of each square – this will help with poking the corners out later.

- Now we’re going to turn each square through the gap so it is right sides facing out. Take your time here and use a tool to help (a point turner is great, but even a chopstick will do).

- Press each square with a warm iron.
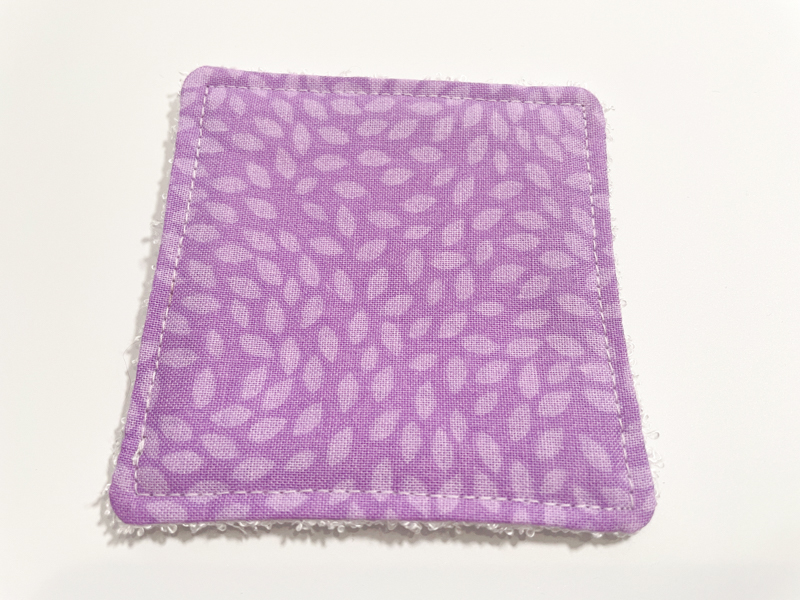
- Top stitch around the outside of each square, closing up the gap as you do so. Trim off any loose threads and you’re done!

- Now we’re going to make a simple little pouch to store your make-up wipes in. First, cut two rectangles of fabric, 6” wide and 8” tall. Please note: if you made your make-up wipes bigger, you may want to increase the size of your bag. Fold over and press the top edge (wrong sides together) by half an inch and topstitch.

- Measure 1 inch down from the top, place a pin. Then measure half an inch down from here and place another pin. Repeat on both the left and ride side of the rectangle and on both pieces of fabric.

- Place the rectangles right sides together and stitch around the outside, leaving a gap between the pins on both sides.

- Cut off the corners and press the seams open. Turn the top edge over (wrong sides together) ¾”
Stitch all the way around the top – I stitched over the top of the stitching line I made earlier. Just be careful not to stitch through the holes that your ribbon will go through.


- Turn your pouch the right way out and press with an iron.
- Cut a piece of ribbon, approx 20” long. Use a safety pin to help you insert the ribbon, through the top of one rectangle and then back through the other. Pull the ribbons to cinch in the top of the bag and tie with a bow.

And you’re finished – you’ve made a gorgeous and practical set of reusable make-up wipes and a cute pouch to store them in.
These make the perfect gift and would be a fabulous stocking filler – Christmas isn’t too far away!
I hope you enjoy following this tutorial. Share your finished makes on instagram, using the hashtag #SewHayleyJaneFQ and tag me @sewn_on_the_tyne
See you next month,
Tamlyn xx