Fat Quarter Make; Oven Mitts
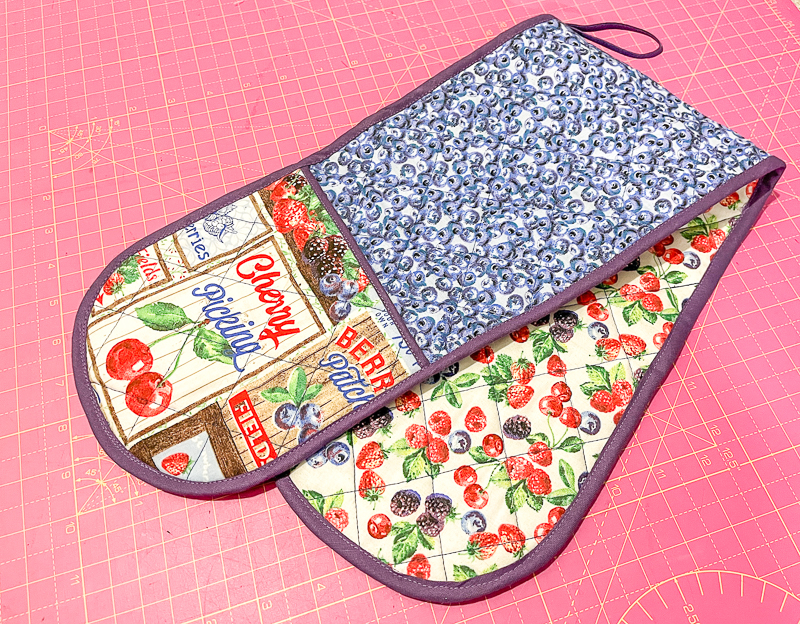
Some months I have to do a lot of thinking and research before I decide on a project to make, but not this month. I opened the parcel with my fat quarters inside and immediately knew what I wanted to make – it just HAD to be something for the kitchen.
Aren’t the designs this month just absolutely stunning? I love the vibrant prints and I’m so happy I’ve made a gorgeous, practical item that I will see and use every single day!
I hope you enjoy this tutorial to make your very own double oven mitt.
You will need:
- 3 fabric fat quarters – iron these to get any creases/folds out
- 2.5 metres of single-fold bias binding (Or you could make your own using a fat quarter)
- Insul-Bright insulated lining (I purchased mine from 1st For Fabrics)
- Sewing machine with a universal needle
- Thread
- Rotary cutter & cutting mat / Fabric scissors
- Pins / Clips
- Tracing paper or cardboard
- Chalk marker or heat erasable marker
- A quilting ruler is useful, although not necessary. It just makes marking the quilting lines a lot easier.
- Tape measure & ruler
Remember to back stitch at the start and end each time you sew – this is essential to secure your stitches.
I’ll be using a 1/2” seam allowance throughout, unless specified.
- Out of tracing paper or cardboard, cut a rectangle 15.5” long and 7” wide.

- Fold this in half lengthways. From the top corner on the open side, measure 2.5” down and make a little mark. Now draw a curved line going from here up towards the top edge (hopefully this is clear from the photo – I just did this freehand).
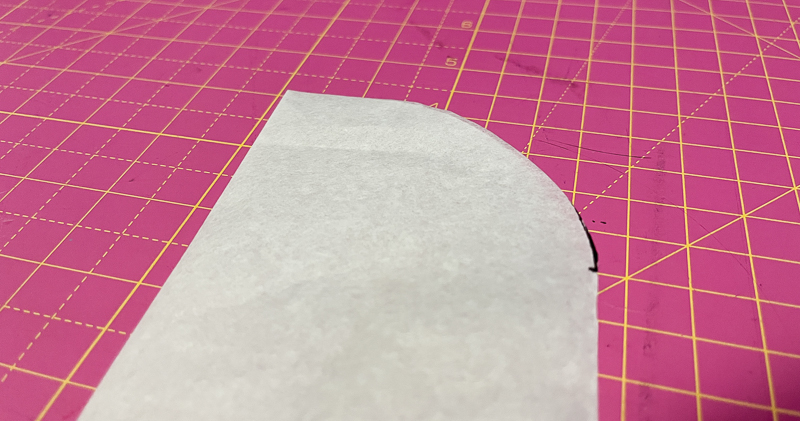
- Cut along this curved edge, then open your pattern piece out. Check that you are happy with the shape and adjust it if necessary.
- Cut 2 outer pieces (using the same fat quarter) and 2 inner pieces (again using the same fat quarter). Now fold up the bottom straight edge of your pattern piece by ½” then place this edge on the fold of the Insul-Bright and cut out. This means you are cutting out your oven mitt insulated lining as one whole piece.

- Now get your pattern piece again and unfold the ½” you folded in the last step. Measure 7” down from the centre of the curved edge. Draw a straight line across the width of the pattern piece. Cut across this line. The piece with the curved edge is now your hand piece.
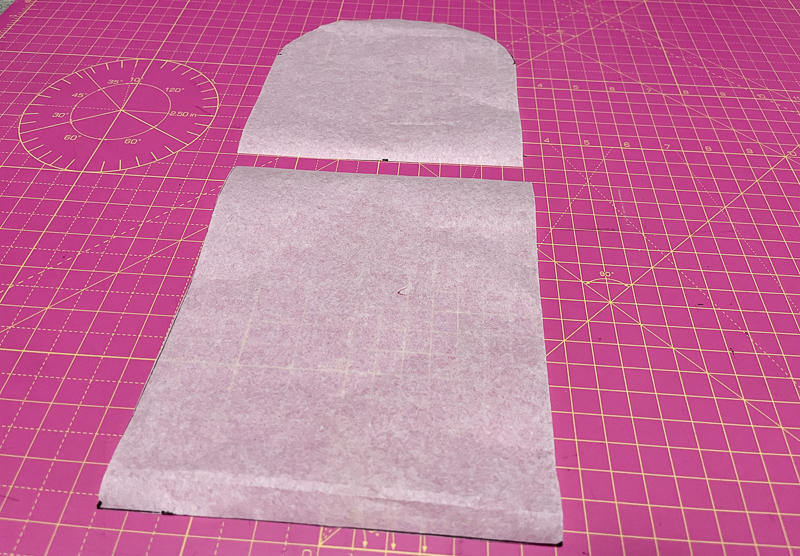
- Cut 4 hand pieces from a fat quarter (I need to pay attention to the direction of the pattern on mine) and cut 2 from Insul-Bright.

- Sew your two outer pieces and two inner pieces, right sides together, along the straight edge. Press the seams open. You now have two long oven mitt pieces.

- Draw quilting lines on the right side of one of your pieces, using a chalk marker or erasable pen. I did a simple crosshatch design, my lines are 1.5” apart.

- Assemble your oven mitt by placing your inner piece right side down, your Insul-Bright on top, silver side down, then your outer piece on top, right side up. Clip together around the outside.

- Stitch over the quilting lines using the colour thread of your choice (remember it will be visible from both sides). This will take a while, so pop on your favourite TV show or YouTube Vlog and enjoy the process!
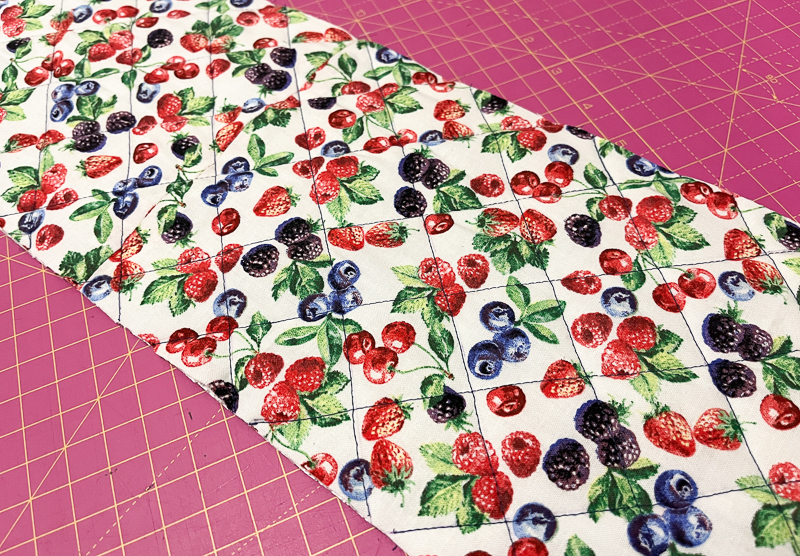
- Even up the raw edges by trimming off any excess fabric.
- Repeat steps 8-11 for both hand pieces.

- Cut two 8” lengths of bias binding. We’re going to attach these to the flat edge of our hand pieces. Take one hand piece. Open out one of the folds of the bias binding and match it up to the raw edge on the right side of the hand piece. The binding should extend past each end of the hand piece by about ½”. Clip in place.
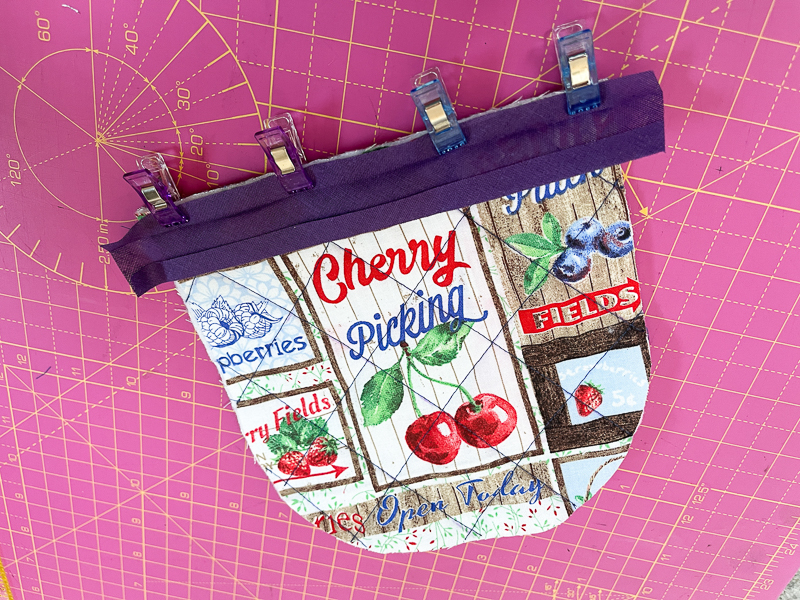
- Stitch along the fold line. Trim the seam allowance down a little, then press the binding upwards and then over the top of the hand piece.

- Clip then top stitch in place (I did this from the right side). It doesn’t matter if it is even or not on both sides, as you will only see the right side – so don’t worry too much here!

- Trim the excess binding from each side, then repeat steps 13-16 for the other hand piece.
- To make a hanging loop, cut a 6” piece of binding. Fold in half lengthways and top stitch.
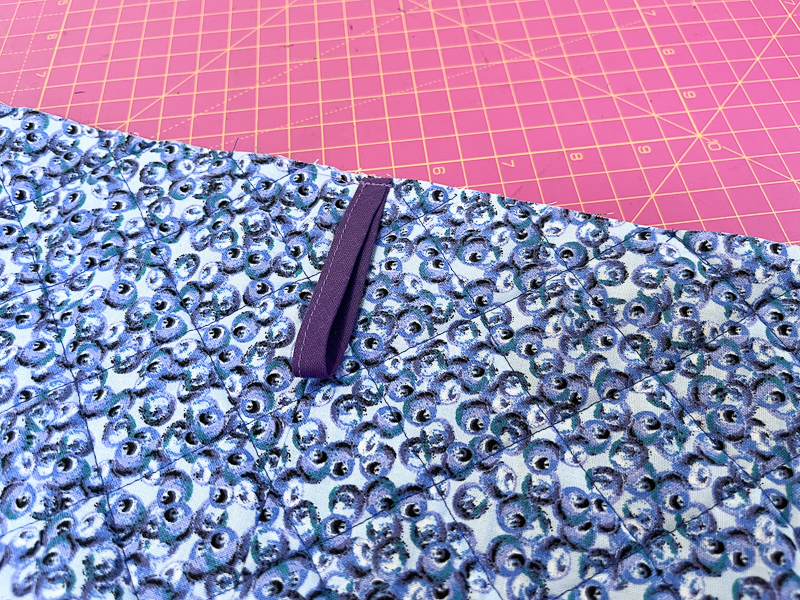
- Fold in half, then clip on to the halfway point on one of the long straight edges of your main mitt piece (on the outer side), matching raw edges. Stitch in place close to the edge.
- Place your hand pieces, wrong sides down, on the outer side of your main mitt piece, matching up the curved edges. Trim off any excess from your hand pieces here so that the raw edges match up. Clip in place, then baste close to the edge.

- Now attach bias binding all the way around the outside, using the same method as earlier. However, it is more important here to make sure it is even on both sides as they will both be visible, so take your time. If you’re unsure about attaching bias binding, there are lots of fantastic tutorials online and on youtube – a simple Google search will bring up lots to choose from!

And there you go – you’ve made a wonderful double oven mitt. I am SO happy with mine and I think this may be my favourite fat quarter make to date!
If you get stuck on any aspects of the tutorial, please feel free to send me a message and I’ll help.
Share your finished makes on instagram, using the hashtag #SewHayleyJaneFQ and tag me @sewn_on_the_tyne
See you next month,
Tamlyn xx