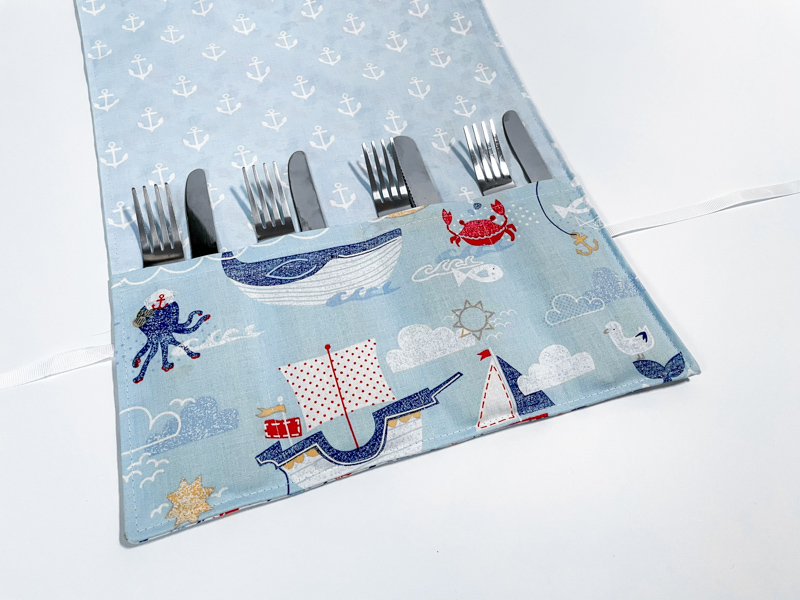
Fat Quarter Project; Cutlery Roll

Hi everyone, Tamlyn here. This month’s nautical themed box had me dreaming of picnics on the beach, so my project this month is to make a roll-up cutlery carrying case.
You will need:
- Fabric fat quarters – iron these to get any creases/folds out
- 1m of ribbon
- Sewing machine with a universal needle
- Rotary cutter & cutting mat / Fabric scissors
- Ruler / tape measure
- Heat erasable pen (I use a Frixion pen)
- Pins / Clips
Remember to back stitch at the start and end each time you sew – this is essential to secure your stitches.
I’ll be using a ½” seam allowance throughout, unless specified.
- Decide on which fabrics you are going to use for the different parts of your roll and cut the following sizes of rectangle:
- Front and back: 18” tall x 13” wide (Cut 2)
- Pocket: 7.5” tall x 13” wide (Cut 1)

- Fold the top edge of the pocket piece over (wrong sides together) at ½” and press, then fold another ½” and press. Top stitch in place. With right side facing up, pin the pocket piece to the right side of the front piece, lining up the bottom edges.

- Using your marking pen, mark vertical lines on the pocket. I wanted four pockets, so I marked lines at 3.5”, 6.5” and 9.5” from the left hand side (You can adapt this for your needs). Topstitch along these lines, sewing through both layers of fabric. Remember to backstitch to secure the stitching at the top edge.

- Now we’re going to attach the ribbon. Take your back piece and mark a small cross with your marking pen on the right side of the fabric (3.5” from the left edge and 4.5” from the bottom edge). Pin the centre point of your ribbon on here, horizontally. Sew the ribbon on securely – I used a box stitch (Sew a rectangle of stitches and then sew across the rectangle diagonally).

- Place the front and back pieces together, right sides facing, and pin. Ensure you have both pieces the correct way up – the ribbon and the pocket should be at the same end. Make sure the ribbon is tucked inside so that it isn’t caught in the seam lines. Sew around the outside, leaving a gap at one side for turning through (I left approx 4”).

- Clip across the corners then turn your project so it is right side out, poking out the corners. Press, then edge stitch around the whole project – this will close up the gap you left earlier.


And there you go – you’ve finished your roll-up cutlery case, ready to take on your next trip to the seaside.
This is such an adaptable project. Why not make a make-up brush case? Or a colouring pencil holder for a budding artist? It would also be perfect for knitting needles or crochet hooks. The possibilities are endless!
Of course, you can change the dimensions of the pieces to make a smaller or bigger case.
I hope you enjoy following this tutorial. Share your finished makes on instagram, using the hashtag #SewHayleyJaneFQ and tag me @sewn_on_the_tyne
See you next month,
Tamlyn xx