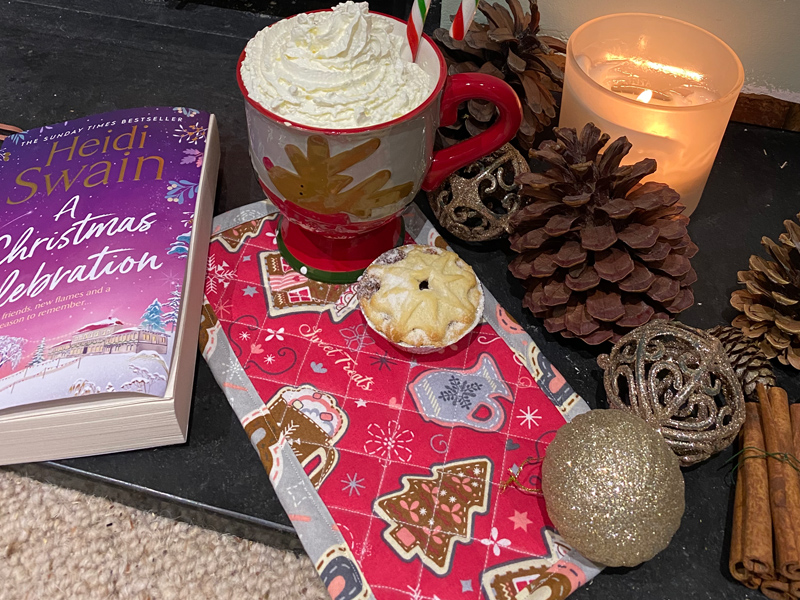
Fat Quarter Project; Quilted Mug Rug

With this month’s theme being ‘Sugar & Spice’, I immediately thought of all the delicious treats that I like to enjoy over the festive season: Mince pies, panettone, gingerbread and more – yum!
This project is a middle ground between a coaster and a placemat, the perfect size for fitting a mug and a tasty treat.
You will need:
- Fabric fat quarters – iron to get any creases/folds out. You could use the same fabric on both sides, in which case you only need one fat quarter. Or if you’d like it to be reversible, choose two different designs.
- Sewing machine with a universal needle
- Thread
- Rotary cutter & cutting mat / Fabric scissors
- Tape measure or ruler. I like using a quilting ruler.
- Pins/clips
- Insul Bright insulated lining – purchased from 1st For Fabrics
- 100% Cotton batting – purchased from 1st For Fabrics
- 1m bias binding – I used 30mm/1.2”
Remember to back stitch at the start and end each time you sew – this is essential to secure your stitches.
I’ll be using a 1/2” seam allowance throughout, unless specified.
The size you make your Mug Rug is personal preference, but I used my favourite mug as a guide, remembering to add seam allowance.

- Cut 2 rectangles of fabric, one rectangle of insul bright and one of batting. The size should be 11” wide and 6” tall.

- Take one fabric piece and place it on top of the insul bright. You should be looking at the right side of the fabric. Pin or clip, then baste around the edges at ¼” seam allowance (I did this on my machine).
Repeat for the other fabric piece and the cotton batting.

- Now place the two rectangles together so that the fabric is right sides out on both sides (The batting and insul bright should be sandwiched in the middle). Pin/Clip, then sew all around the outside at ½” seam allowance.

- Trim around the outside, reducing the seam allowance to ¼” Also snip diagonally across each corner – this will help when applying the binding later.

- Now we’re going to quilt! Decide on a design – I opted for simple diagonal lines, but you may want to go for something more fancy!
I marked my first line on using a heat erasable marker, then measured 1” out from this line to continue adding more lines.

- Sew over your lines using the colour of your choice – remember that the thread will be seen on both sides of the mug rug. Apply heat to remove your markings (if you used a heat erasable pen of course!)
- Trim off any loose threads.

- Now we’re going to add the binding. I’m using a simple & quick method, however feel free to use the method of your choice (especially if you want to guarantee a super neat finish!)
Start by folding the binding around the raw edge of the mug rug at the top left hand edge. Leave about 1” hanging over the edge. Clip in place.
- Continue clipping the binding around the raw edge.

- When you reach a corner, simply ease the fabric round and fold the excess under – this isn’t a perfect finish but it’s good enough for me! With a bit of manipulation, you can get it looking pretty neat.

- Before you reach the final corner, snip off the excess you left hanging over at the start. Trim your length of bias binding down so that it will go round the corner comfortably. I also like to fold under the raw edge of the bias binding at the end to give a neater finish.

- Now sew your bias binding! I like to use my edge-stitching foot for this and increase my stitch length. Because we used the ‘quick’ method of applying the binding, there is a risk you may not catch it on both sides here and there, but you can simply go back over these sections from the other side if necessary.

And there you have it – your finished Mug Rug. Just in time for tea!
This makes a perfect gift / stocking filler – you could even package it up with some tea bags & tasty treats, perhaps even a new mug!
If you get stuck on any aspects of the tutorial, please feel free to send me a message and I’ll help.