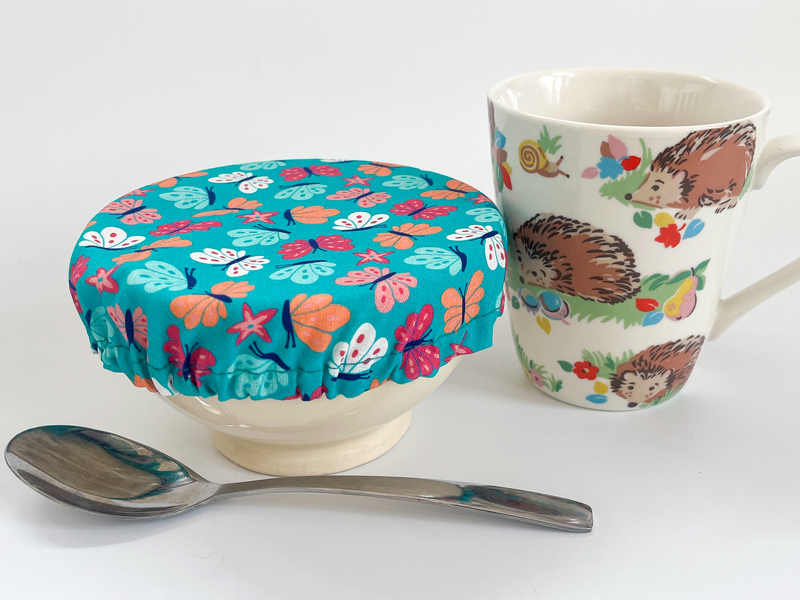
I’ve seen these storage bags around for a while now and just think they’re fantastic – the way they open out flat and you can see everything that’s inside is so clever! So now you can make one too.
You will need:
- 3 fabric fat quarters – iron to get any creases/folds out.
- Drawstring cord
- Spring cord lock x 2
- Sewing machine with a universal needle
- Thread
- Rotary cutter & cutting mat (ideally)
- Fabric scissors
- Tape measure or ruler.
- Quilting ruler
- Pins/clips
Remember to back stitch at the start and end each time you sew – this is essential to secure your stitches.
- Choose which fabric will be the outer piece of your bag. Lay it wrong side up, take the bottom left hand corner and fold it up to meet the top edge.
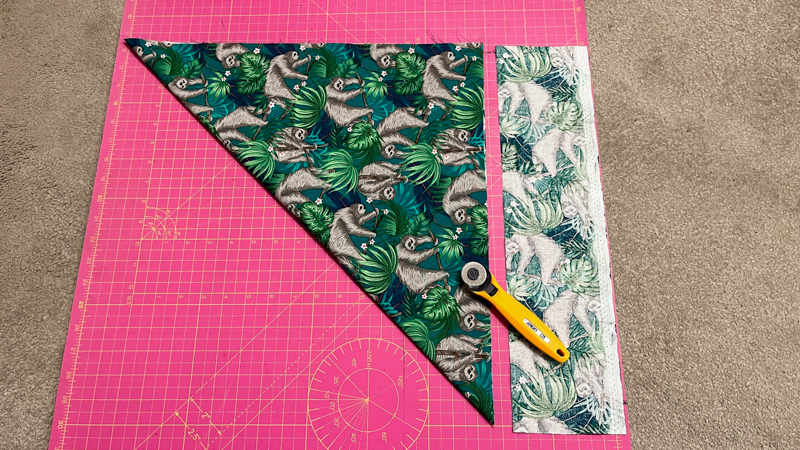
- Trim off the excess fabric, so that you are left with a triangle (which would open out to be a square).
- Fold the triangle in half, then half again.
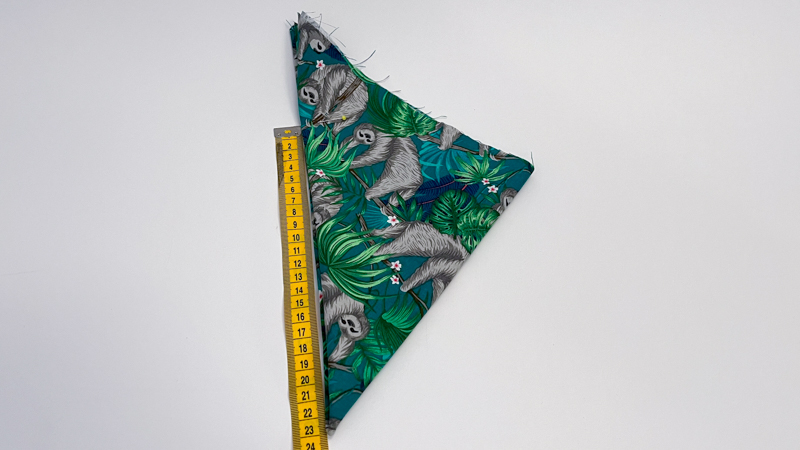
- Measure the folded edge (It should be around 23cm), then measure this same distance up the longest edge and mark with a pin or chalk.
- Use scissors to cut a curved line across between the mark and the top of the folded edge.
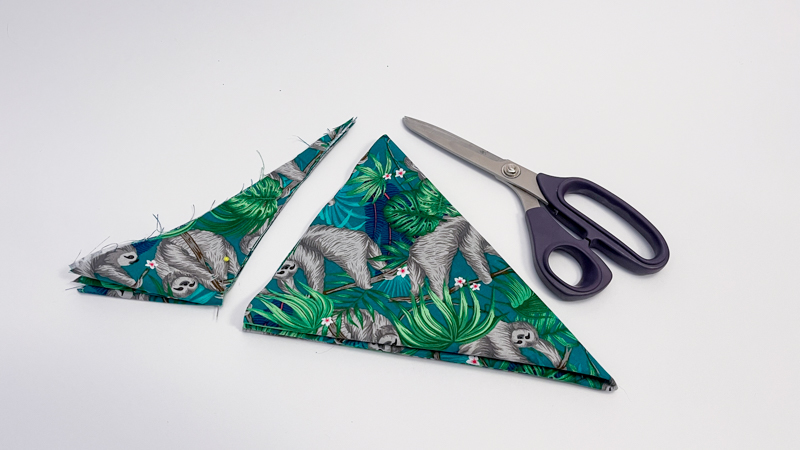
- Open your fabric out and you should have a circle (You can see mine isn’t perfectly circular but that doesn’t matter).
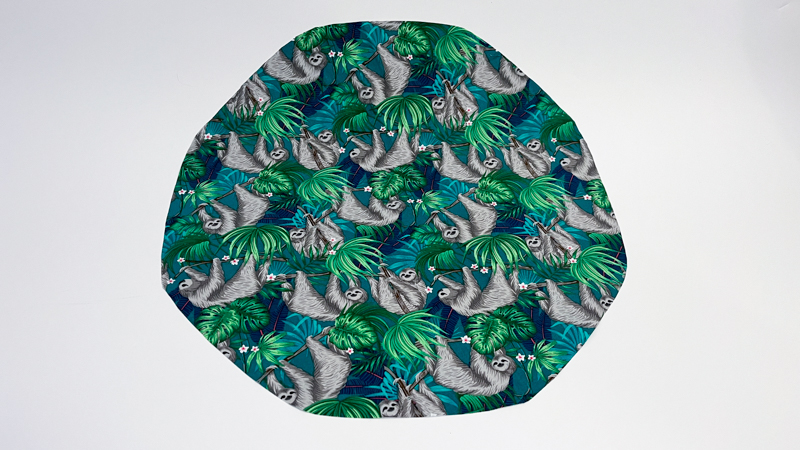
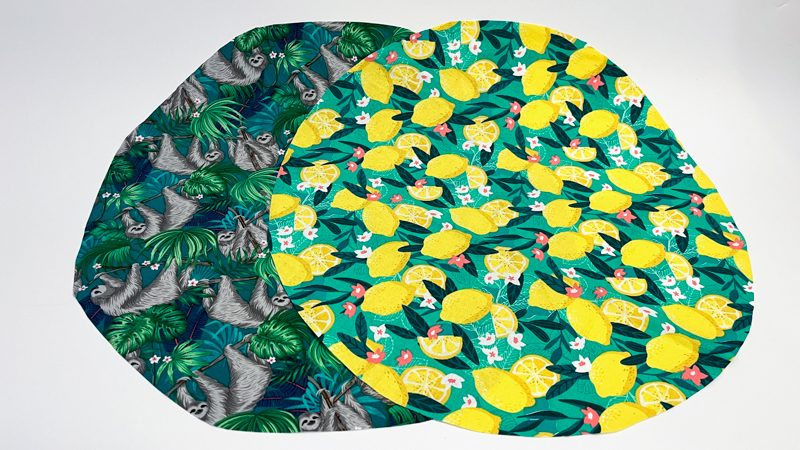
- Repeat all previous steps for your lining fabric – you should now have two circles of the same size.
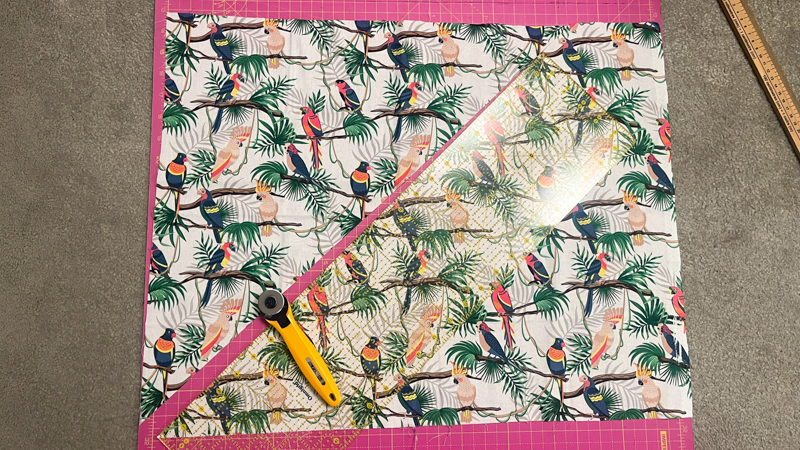
- Lay out your third fat quarter and cut it in two at a 45 degree angle from one of the bottom corners. Use this edge to now cut 3 strips of fabric, 1.5” wide (I marked mine with a marking pen first).
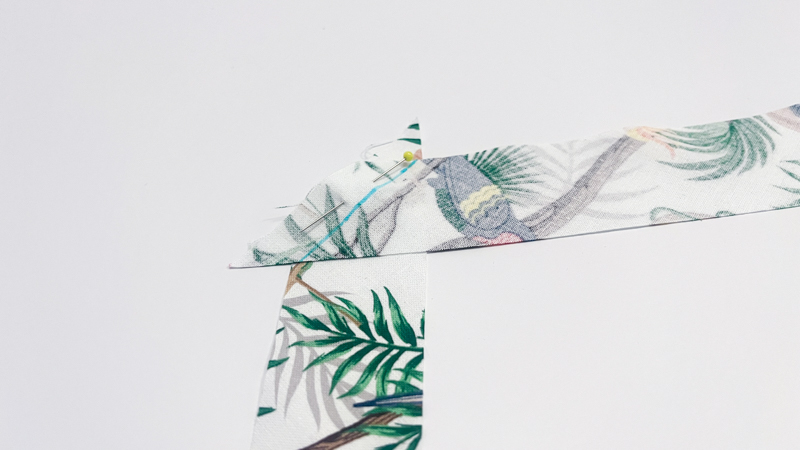
- Overlap two pieces at the short edges, right sides together. Pin and draw on your stitching line, then sew. Repeat with the third strip, so now you have one long strip of fabric. Press your seams open and trim off any overlapping bits.
- Press the strip in half, wrong sides together, matching the long raw edges.
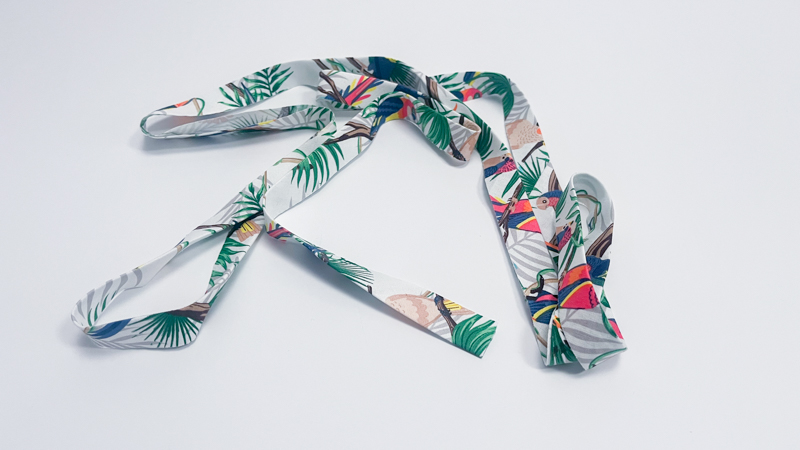
- Open out one of the short edges and press it over 1cm to the wrong side twice, then edge stitch.
- Clip your folded strip of fabric around the outside of your outer circle, right sides facing and raw edges matching. Start with the end that you top stitched.
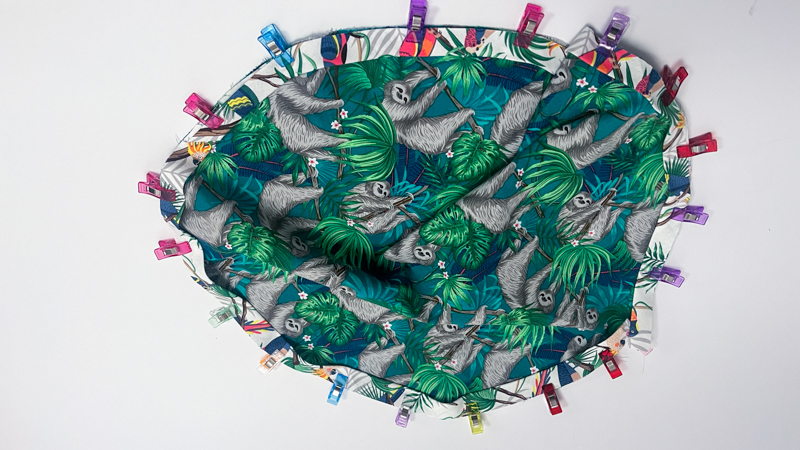
- When you get near to the end, trim off the excess fabric but leave yourself 2cm so you can fold over the end twice and top stitch. Now when you clip this to the circle, it should almost meet the other end.
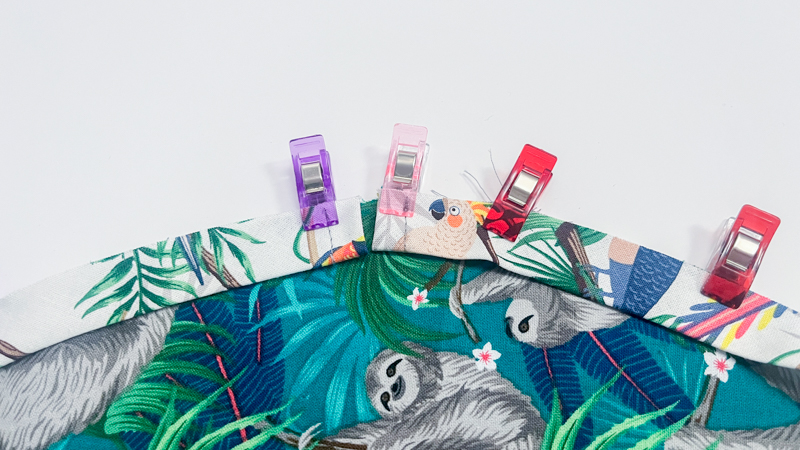
- Machine baste to secure, very close to the edge (I used ⅛” seam allowance).
- Now sew your lining circle to this using a 2/8” seam allowance, right sides facing, leaving a turning gap of approx 3”.
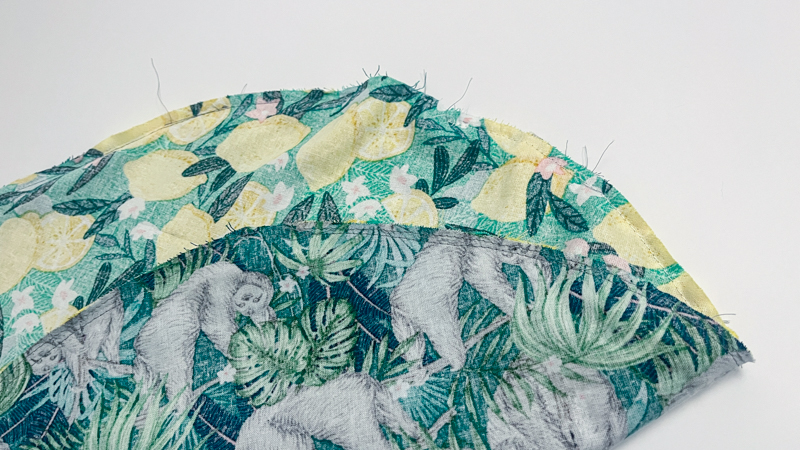
- Turn it through the gap so that it is right side out, then close the gap either by hand or machine. Press your project.
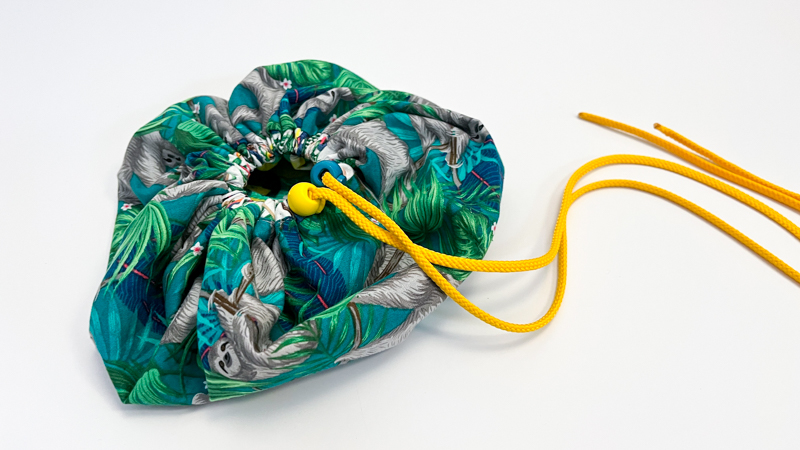
- Cut a length of cord, approx 2 metres. Insert it into the casing using a safety pin. CAREFULLY burn the ends of the cord so that they don’t fray. You can also squeeze the ends at this point so that they go through the cord locks easier. Now attach your cord locks and you’re done!
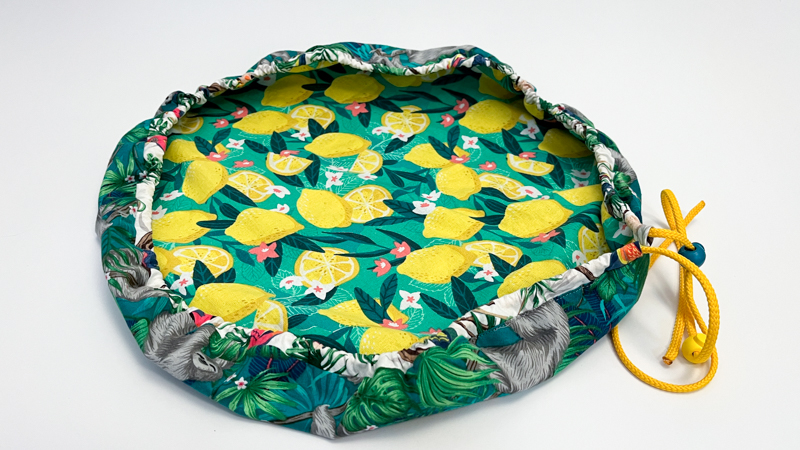
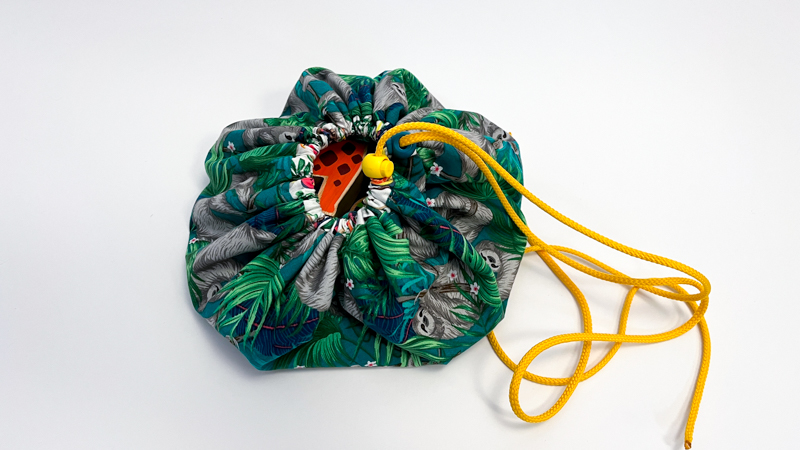
This can be used to store make-up, snacks, toys – anything you want really! You can also adapt the size to make a smaller version.


