Fat Quarter Make; Gift Bag

If you want a more sustainable – and beautiful – way to wrap your gifts, then look no further than this fabric gift bag.
In this tutorial, I’ll talk you through how to make a gorgeous gift bag that is the perfect finishing touch to a present. You could also use them for storing bits and bobs around the home or in your handbag/travel bag.
Join us on YouTube at 8pm on Thursday 29th September BST for a live sewalong of this gorgeous gift bag. You will need your fabric and ribbon cut to size ahead of the sewalong.
You will need:
- 1 fabric fat quarter – iron this to get any creases/folds out
- 1.5 metres of ribbon
- Safety pin
- Sewing machine with a universal needle
- Thread
- Rotary cutter & cutting mat / Fabric scissors
- Pins / Clips
- Tape measure or ruler. I actually use a quilting ruler.
Remember to back stitch at the start and end each time you sew – this is essential to secure your stitches.
I’ll be using a 1/2” seam allowance throughout, unless specified.
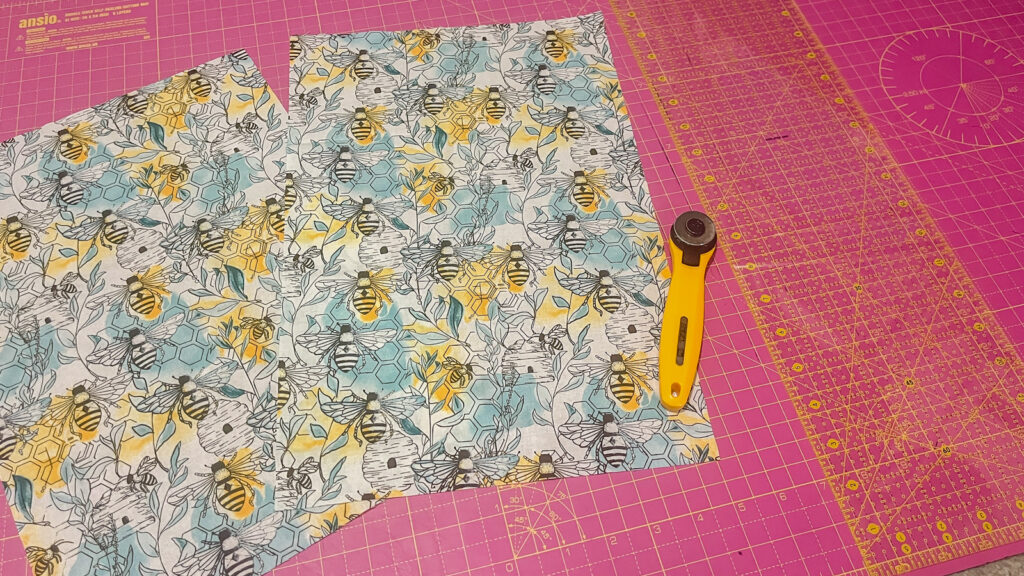
- Cut two rectangles from your fat quarter, each measuring 10” wide by 15” tall.
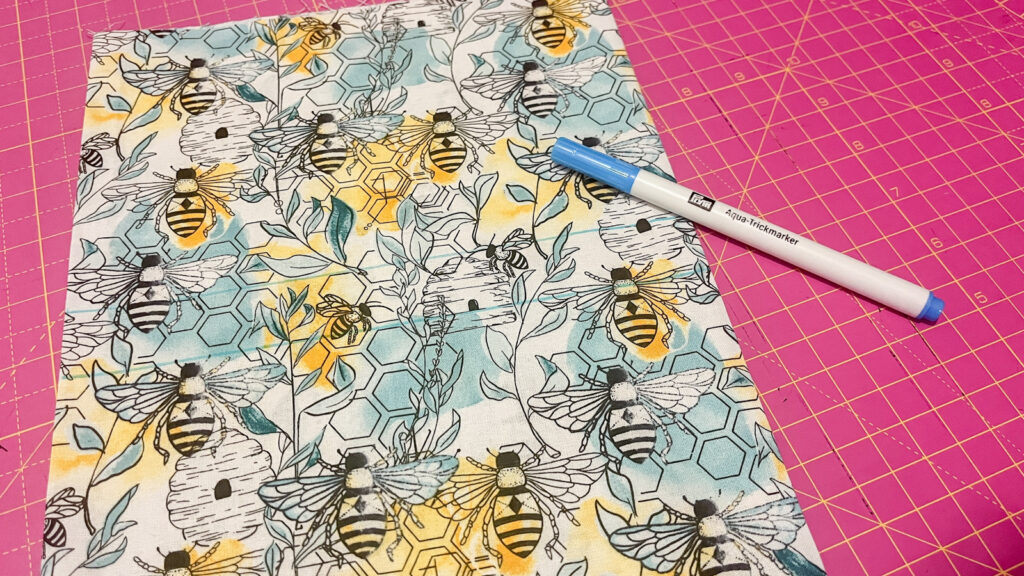
- We’re now going to mark the opening that the ribbon will feed through. On the wrong side of the fabric, measure 6.5” down from the top and make a mark. Make another mark 1” above this. Repeat on both edges of the fabric and on both rectangles.
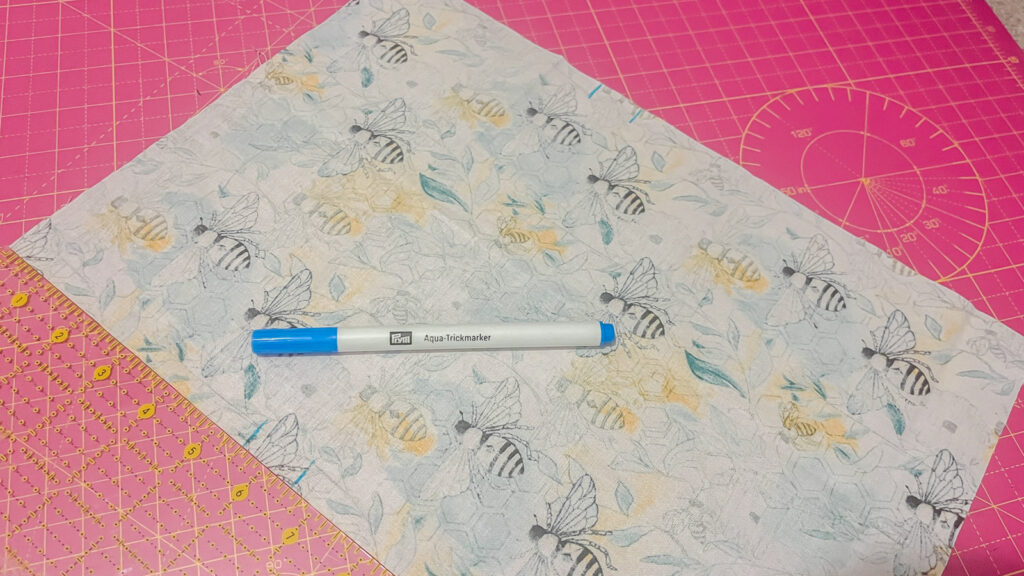
- Pin or clip the rectangles, right sides together.
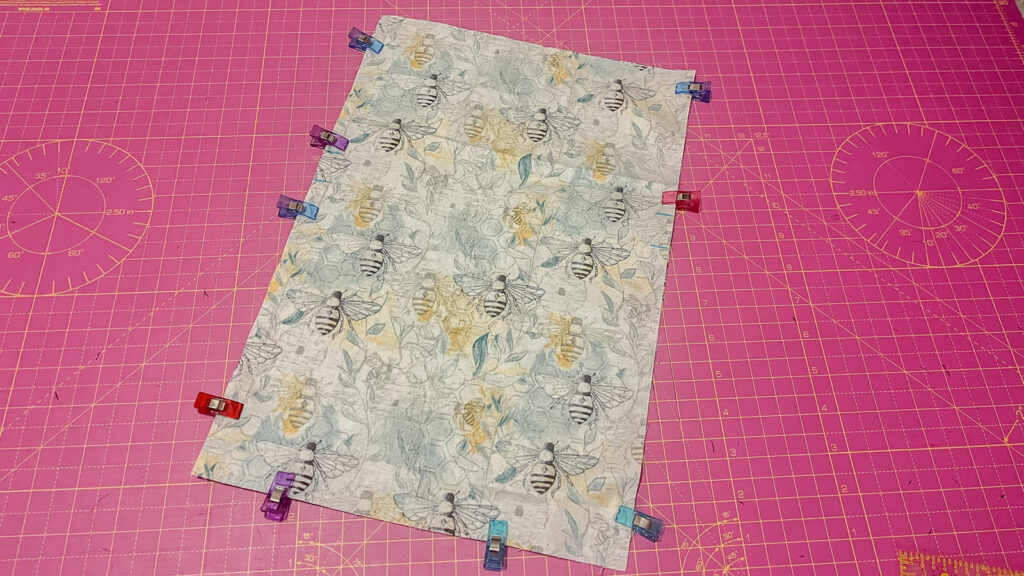
- Sew along the two long sides and the bottom of the rectangle, but remember to leave a gap where you marked the openings.
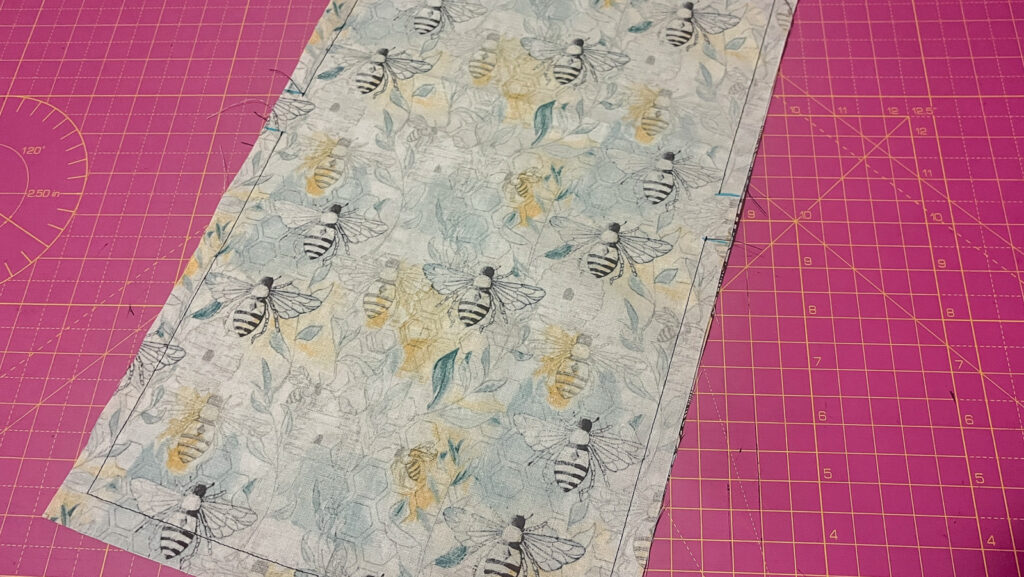
- Trim off any loose thread ends and snip across the corners. Turn the bag the right way out and ease out the corners. Press.
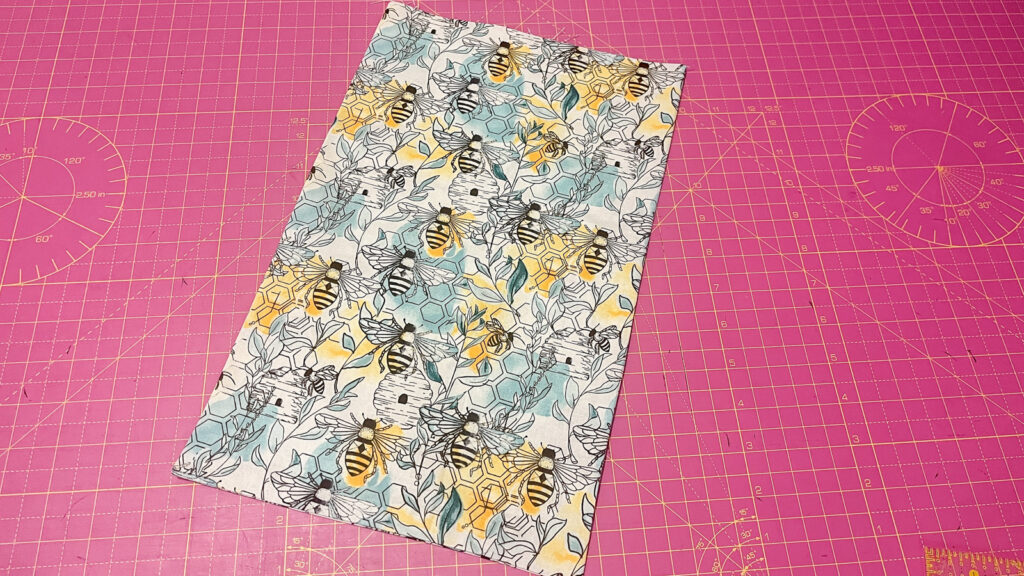
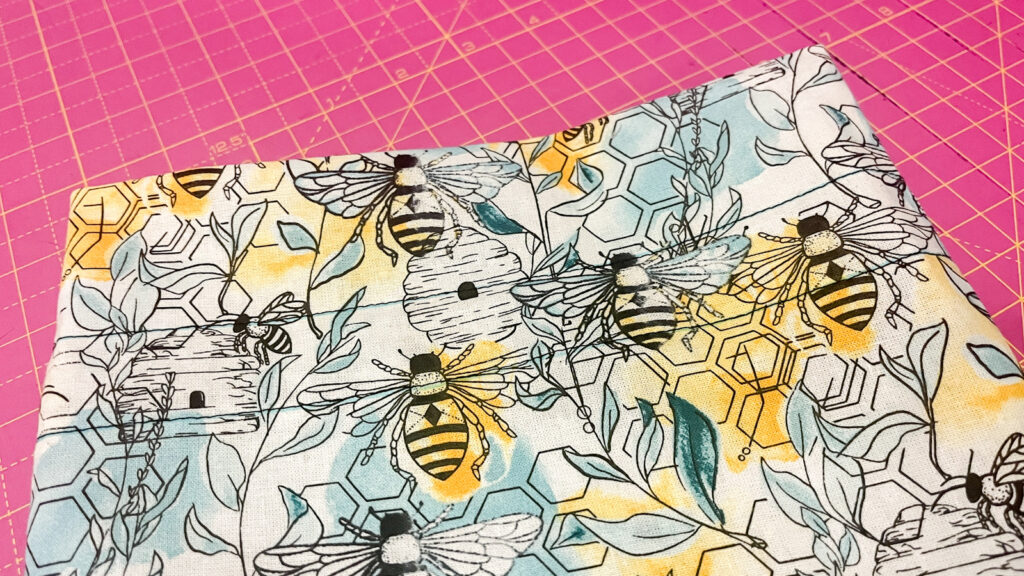
- Using an erasable marker, draw two lines on both right sides of the fabric to show the opening channel.
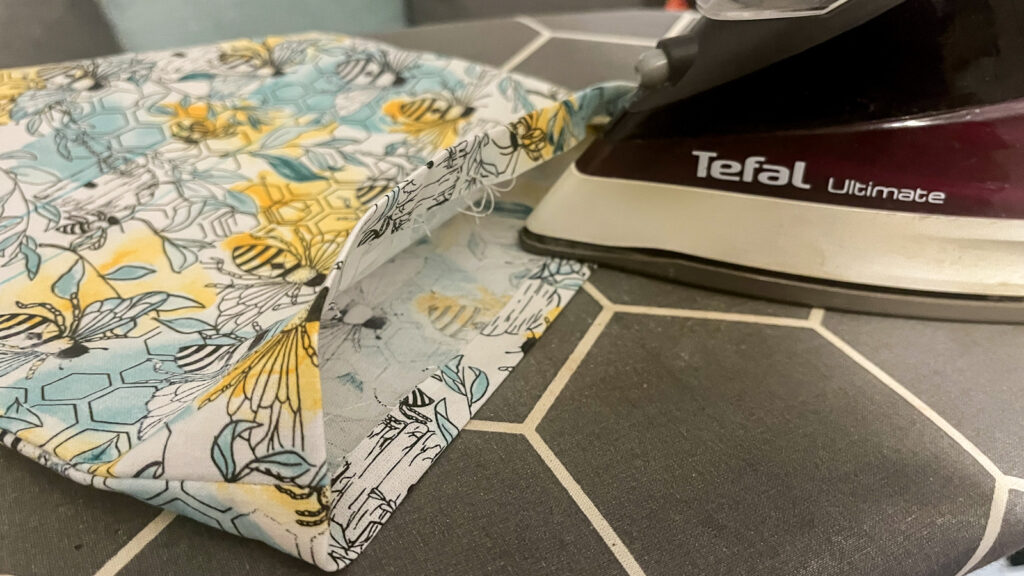
- Turn over and press the raw edge to the inside, all the way around the top of the bag, by ½”
It’s important here to make sure that the side seams inside are pressed OPEN.
OPTIONAL – top stitch the fold down to secure.
- Now turn the top edge to the inside again, so that the folded edge sits just below the bottom line of the channel. I folded the fabric in by approx 3”
Again just check that the side seams are still pressed OPEN otherwise the channel openings won’t function properly and you won’t be able to feed the ribbon through later.
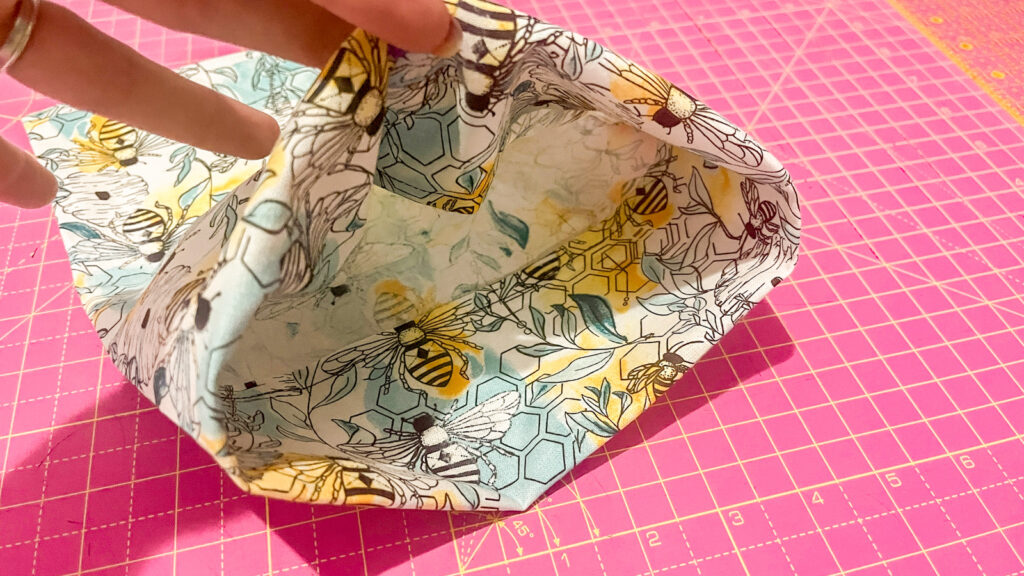
- Secure by using a few pins, pinning from the right side and making sure you catch two layers of fabric only.
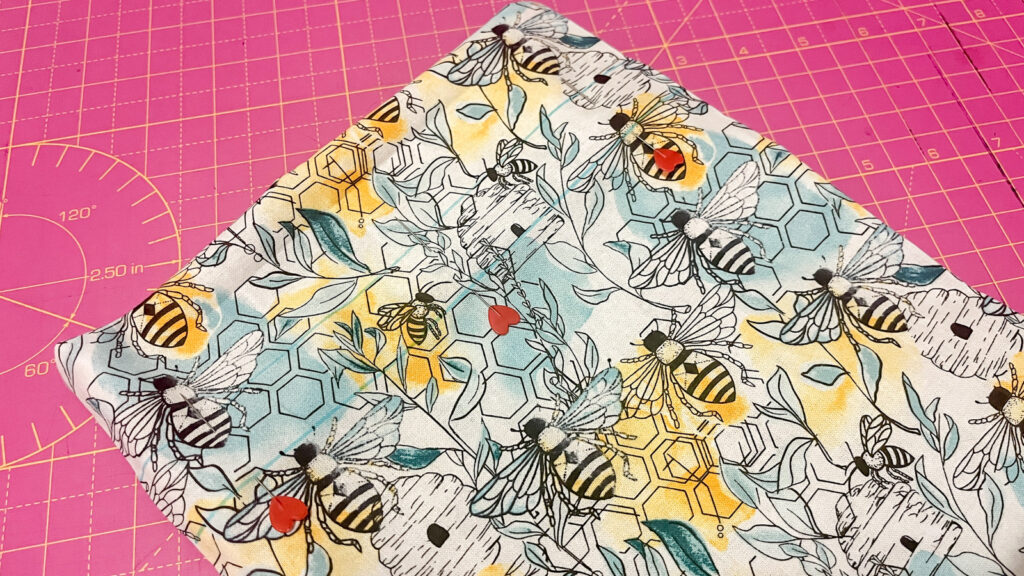
- Sew, using a straight stitch, all the way around the bag on the bottom line of the channel. Then repeat for the top line. Cut off any loose threads on the inside and outside of the bag.
- Cut your piece of ribbon in half. Take a safety pin and attach it to the end of one piece of ribbon. Insert it into one of the channel openings, feed it all the way around the bag and back out of the same opening. Tie the raw ends of the ribbon in a knot.
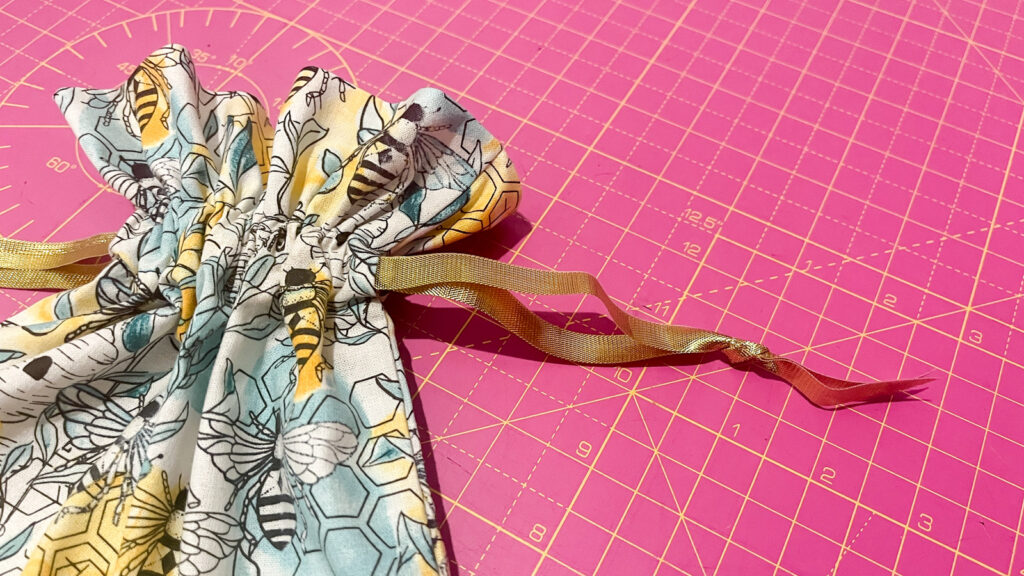
Repeat with the other piece of ribbon through the opposite opening.
Pull on the ribbons to gather the top of the bag.
And there you go – a beautiful gift bag that will be treasured by its recipient!
You can, of course, adapt the measurements to create a smaller or larger bag.
If you get stuck on any aspects of the tutorial, please feel free to send me a message and I’ll help.
And look out for the YouTube Live sewalong announcement – we really hope lots of you can join us.
Share your finished makes on instagram, using the hashtag #SewHayleyJaneFQ and tag me @sewn_on_the_tyne
See you next month,
Tamlyn xx