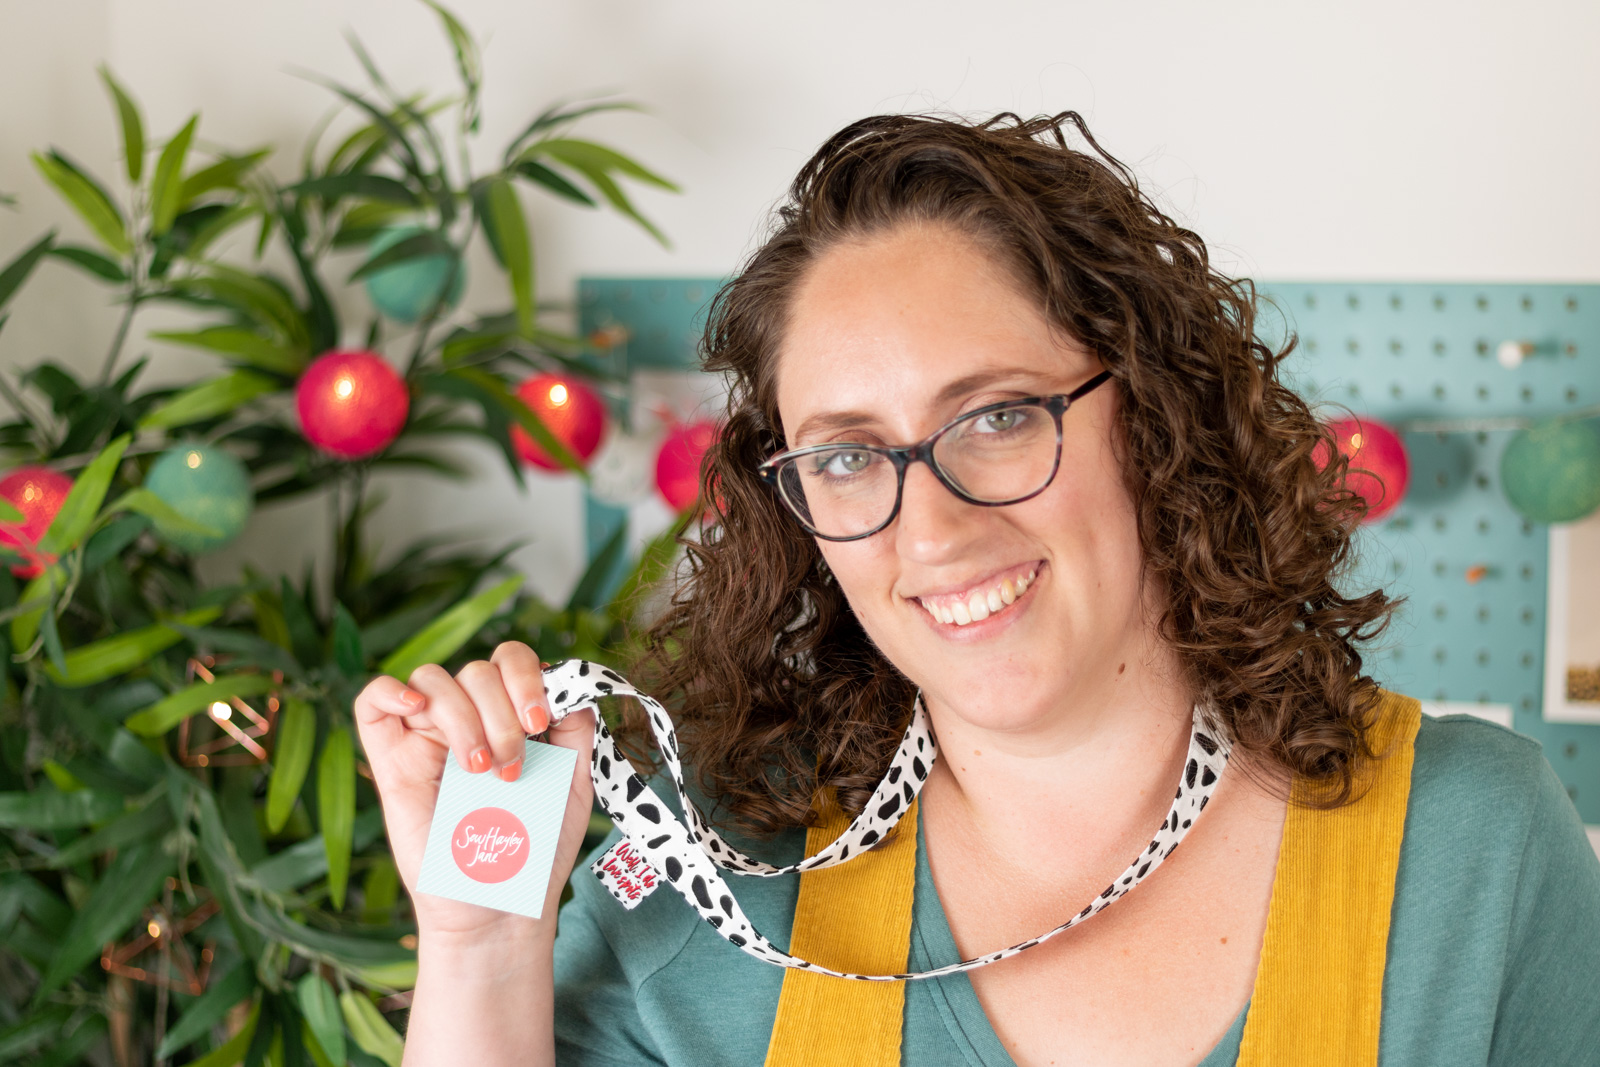
Fat Quarter Make; Lanyard

A lanyard is one of those practical items that everyone can find a use for – whether it’s to hold your work pass, your keys or even your snips while you’re sewing!
This project is super quick & easy – you can whip up a few in no time at all! They would make perfect end of term teacher gifts or an ideal stocking filler.
Join us on Tuesday 30th August at 8pm for a live sew along on Hayley’s YouTube channel. We really hope lots of you can join us, the last one was so much fun!
You will need:
- 1 fabric fat quarter – iron this to get any creases/folds out
- ¾” Swivel Clasp (I repurposed mine from an old lanyard)
- Optional – side seam woven label (Mine is from Little Rosy Cheeks)
- Sewing machine with a universal needle
- Thread
- Rotary cutter & cutting mat / Fabric scissors
- Pins / Clips
- Tape measure or ruler. I actually use a quilting ruler.
Remember to back stitch at the start and end each time you sew – this is essential to secure your stitches.
I’ll be using a 1/2” seam allowance throughout, unless specified.
- If you are repurposing a swivel clasp, like I have, get this ready now by cutting it off the old lanyard/bag etc.
- Cut two strips of fabric, 19” x 3”

- Place the strips right sides together and sew along one of the short edges. Press this seam open.

- Fold the strip in half lengthways (wrong sides together) and press.
- Open out the fabric, then fold each long raw edge in to meet the central fold and press.

- Now fold your fabric in half lengthways, using the central fold you pressed in step 4, and clip to hold in place.
- OPTIONAL EXTRA: I had the perfect side seam label to add here, so I pinned it where I wanted it to feature (Approx 4” from one of the short ends).

- Top stitch down each long edge, close to the edge of the fabric – I like to use my edge stitching foot to do this.

- Slide the swivel clasp onto the fabric strip.

- Place the two short edges on top of each other, ensuring the strip isn’t twisted anywhere, and sew to secure.

- Slide the swivel clasp along so that the straight edge of the D-ring part sits inside the seam you have just sewn (Hopefully the photo makes this clear!).

- Place your strip together to enclose this part of the swivel clasp and sew close to it in order to secure it in place.

And there you go – how simple was that? You’ve made your very own lanyard to wear with pride. It was so simple, you could even make a different one for every day of the week!
If you get stuck on any aspects of the tutorial, please feel free to send me a message and I’ll help.
Share your finished makes on instagram, using the hashtag #SewHayleyJaneFQ and tag me @sewn_on_the_tyne
See you next month,
Tamlyn xx