All of my glasses end up being scratched or broken. Yes, I’m that person who just leaves them lying around or throws them in a bag with no protection.
So when Hayley told me the theme of this month’s box, it seemed the perfect opportunity to make a sunglasses case. And hopefully, having a beautiful ‘me made’ case will be the encouragement I need to start being more careful with my glasses!
Join us on Tuesday 26th July at 8pm for a live sew along on Hayley’s YouTube channel. We really hope lots of you can join us, the last one was so much fun!
You will need:
- 2 fabric fat quarters – iron these to get any creases/folds out
- Fleece (You can use fusible or just normal fleece – anything to provide a bit of padding)
- 3.5” length of narrow elastic (I used 3mm cord elastic from Plush Addict)
- Button (Mine is a 25mm/1” size)
- Sewing machine with a universal needle
- Thread
- Rotary cutter & cutting mat / Fabric scissors
- Pinking shears (optional)
- Pins / Clips
- Tape measure or ruler. I actually use a quilting ruler.
Remember to back stitch at the start and end each time you sew – this is essential to secure your stitches.
I’ll be using a 1/2” seam allowance throughout, unless specified.
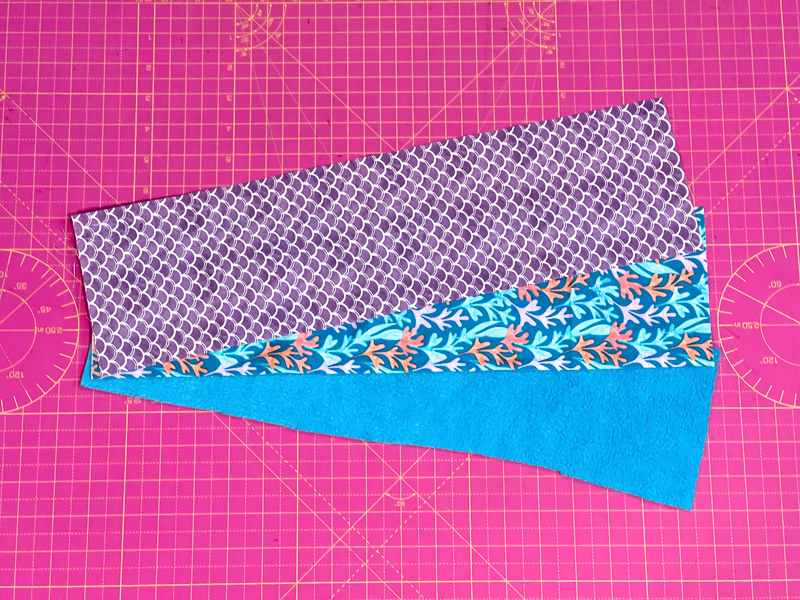
- Cut a rectangle of fabric from each fat quarter, 5” wide and the length of your fat quarter (approx 18.5” long). Cut 1 x the same size rectangle from your fleece.
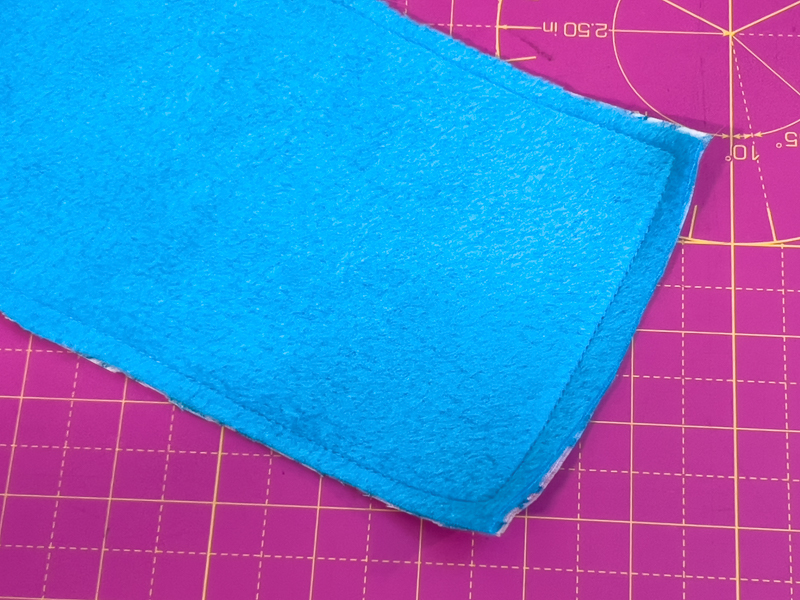
- Attach the fleece to the wrong side of your outer fabric. If you are using fusible fleece, use an iron to apply. If you are using normal fleece, which I have, sew around all four edges of the rectangle with a ¼” seam allowance.
- Place your outer and lining pieces right sides together. Sew the top short edge together (remembering the direction of your prints) and then trim down your seam allowance.

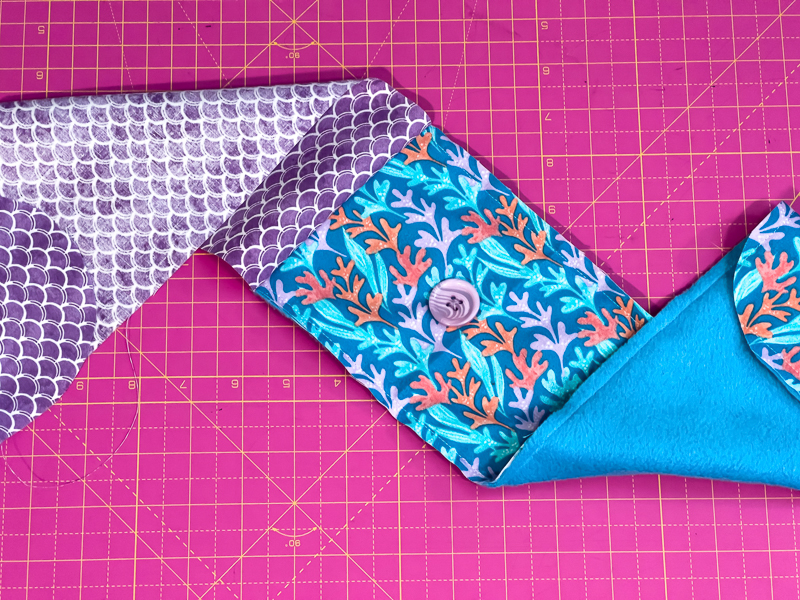
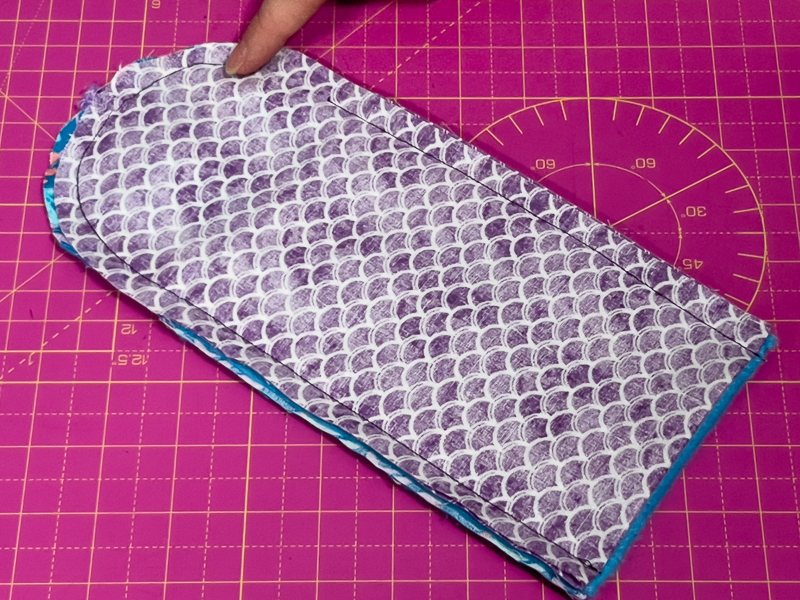
- OPTIONAL – You might like to shape the opposite short edges. This will create the flap of your glasses case. I chose to round off my corners to create a curved flap. You could also create a diagonal, arrow shaped flap or even just leave it as it is.

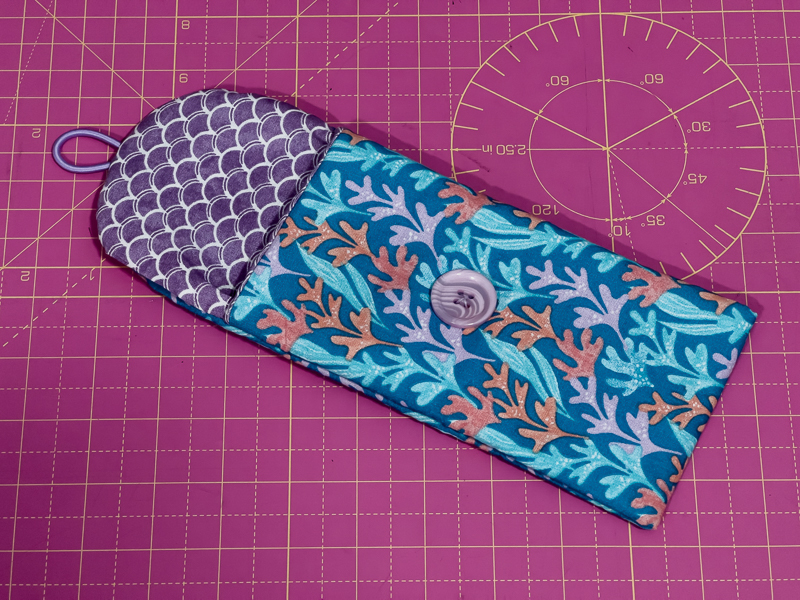
- Sew a button centrally, 3” down from the top on the right side of your outer piece. Make sure you are only sewing through your outer fabric and fleece – NOT the lining.
- Take your elastic and fold it in half. Position it centrally at the top of the lining fabric on the right side. The loop should be facing inwards and the raw edges of the elastic should be overlapping the top edge of the lining fabric by a small amount. Secure with a few stitches on your machine.

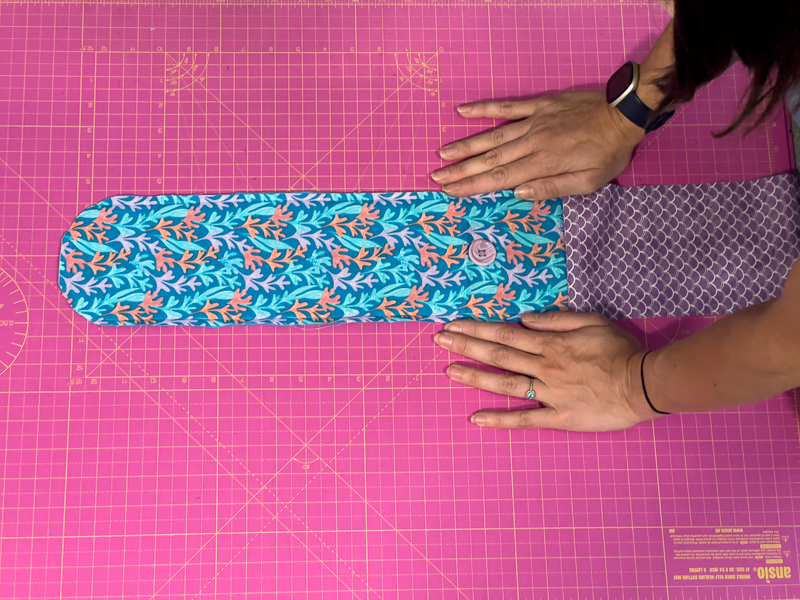
- Place your project down in front of you so that the fabrics are right side up. The outer fabric should be furthest away from you, with the flap edge at the top.
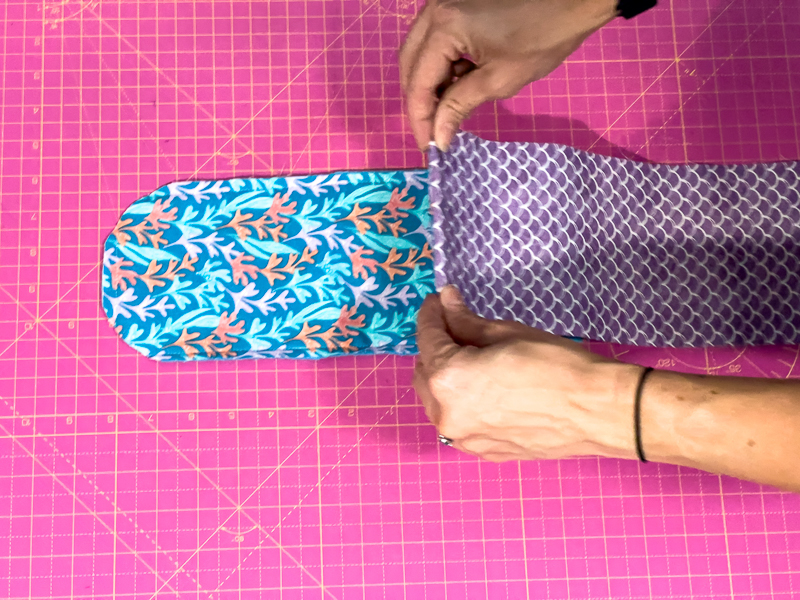
- Holding on to the seam you sewed earlier, fold forwards so that the outer fabric is now right sides facing. Adjust these pieces so that the overlapped section is 7” long (This measurement is based on my glasses – you may want to adjust it for yours). Clip in place.
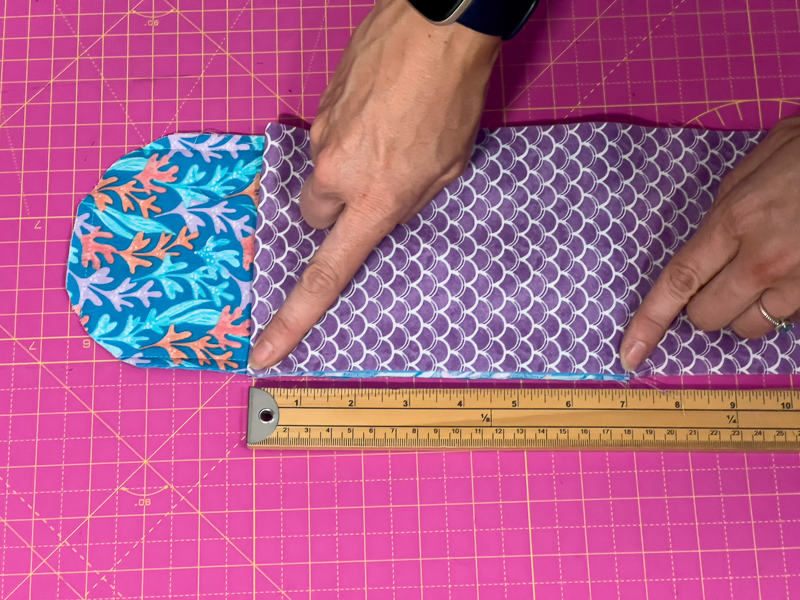
- Fold your lining fabric up and place down on so that the raw edges of the flap edge meet – ensuring the elastic loop is tucked inside. Clip around the edges. Mark a gap with pins for turning through. You can see I’ve placed mine above the level of the folded seam – this is for neatness.
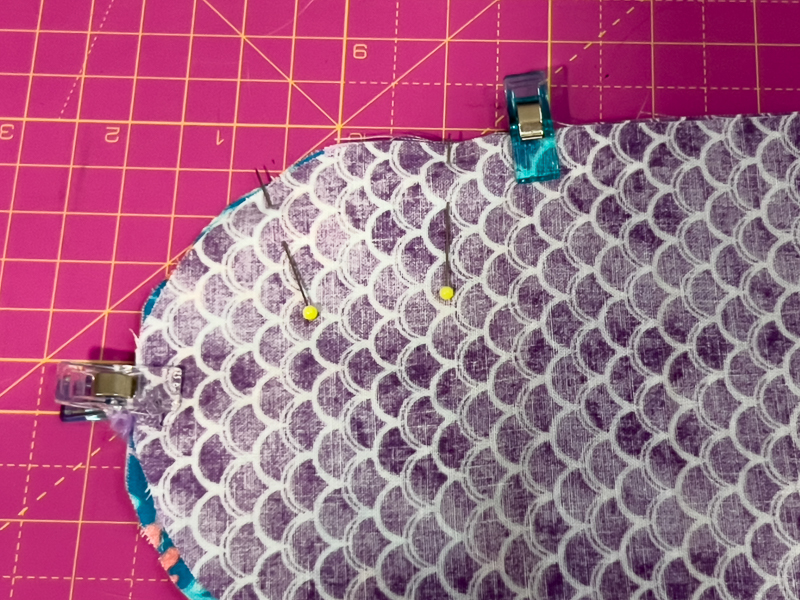
- Sew around the outside, but NOT the bottom short edge. Remember to leave your turning gap as well. I’ve used black thread here just to make it clearer for you to see.
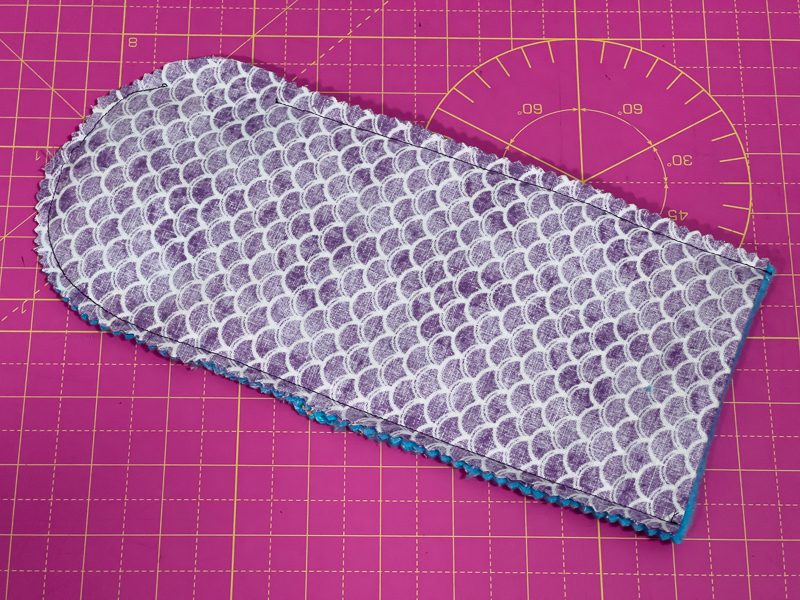
- Trim your seam allowance down using pinking shears, but don’t trim anything from your gap section. If you’re not using pinking shears, still trim down your seam allowances but also clip into the curved edge a few times.
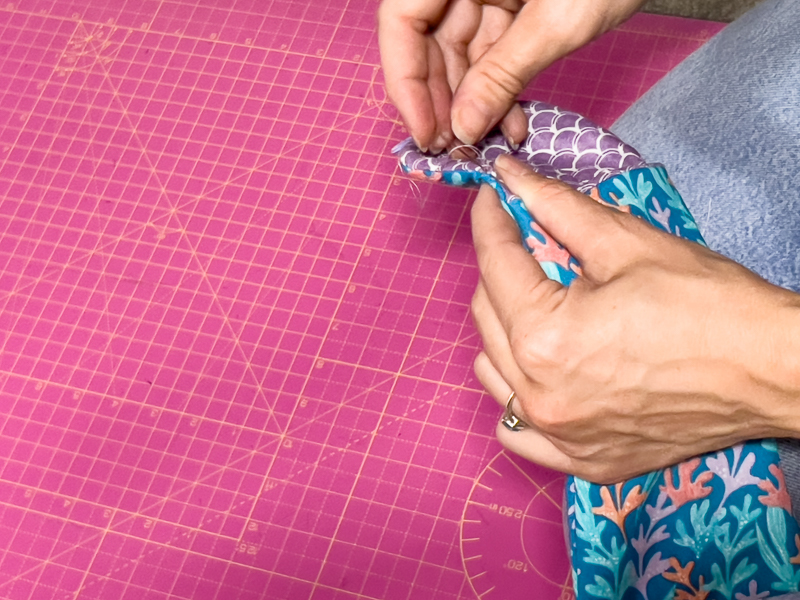
- Turn your project through the gap. This will take a little while. Use a chopstick or turning tool to help. You can also tease out the corners with a pin. Press with an iron.
- Close the gap – I prefer to do this by hand, but you could also use your sewing machine.
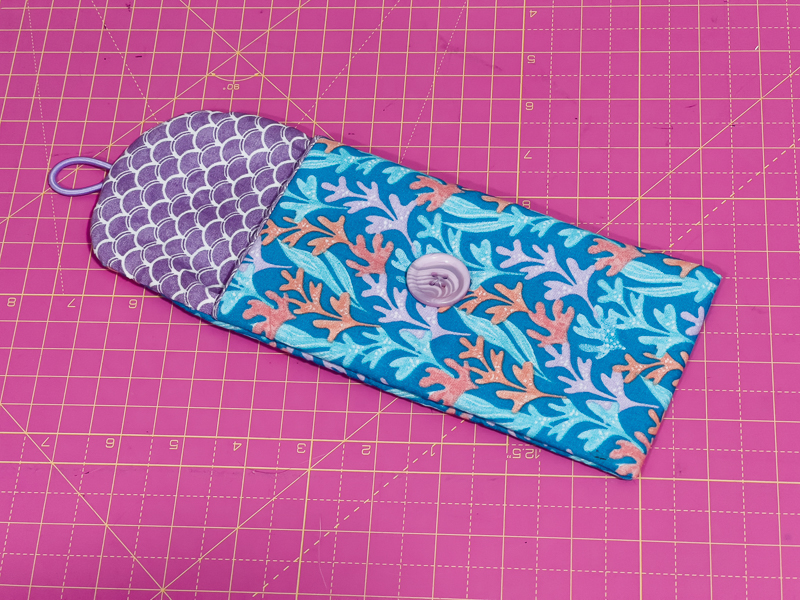
And there you go – you’ve made a gorgeous sunglasses case.
Rather than a button/loop closure, you could use snaps as an alternative. You could also personalise the case by adding a woven label.
If you get stuck on any aspects of the tutorial, please feel free to send me a message and I’ll help.
Share your finished makes on instagram, using the hashtag #SewHayleyJaneFQ and tag me @sewn_on_the_tyne
See you next month,
Tamlyn xx