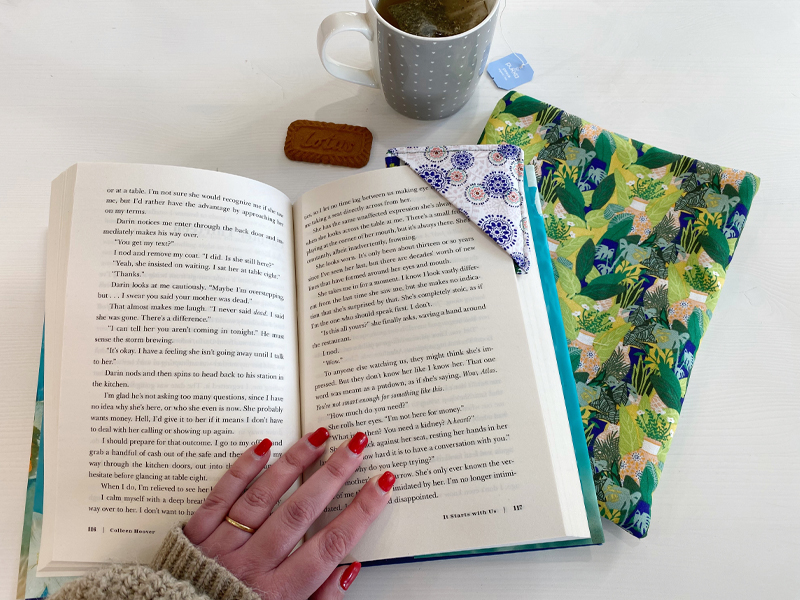
Fat Quarter Project; Book Case and Book Mark

I love reading, but as things get busier towards the end of the year, I really struggle to make time for it. So I always start the new year with a promise to myself to make more time for relaxation and escaping with a good book.
This month’s tutorial provides the perfect accessories for this – a bookmark to keep your page and a padded sleeve to protect your book.

You will need:
- Fabric fat quarters – iron to get any creases/folds out.
- Wadding – you could use fusible wadding, sew-in wadding or even a thicker fabric like fleece or sweatshirting – a perfect way to use up scraps. You just need something to provide a bit of padding to your book sleeve.
- Medium weight interfacing (Only a small amount for the bookmark)
- Sewing machine with a universal needle
- Thread
- Rotary cutter & cutting mat / Fabric scissors
- Tape measure or ruler. I like using a quilting ruler.
- Pins/clips
Remember to back stitch at the start and end each time you sew – this is essential to secure your stitches.
I’ll be using a 1/2” seam allowance throughout, unless specified.
We’ll start with the book sleeve.

- To work out the size of your book sleeve, measure all the way around the width and depth of the book with a tape measure. Mine was 12.5”. Now halve this, add on seam allowance plus a little extra for some ease. So mine: 6.25 + 1 + 0.5 = 7.75” (This is the width of your book sleeve pieces. Now measure the height of your book. Mine is 8”. Add on seam allowance and a little extra, so mine: 8 + 1 + 0.5 = 9.5” (This is the height of your book sleeve pieces.
- Cut out 2 lining pieces, 2 outer pieces and 2 wadding pieces using the dimensions from step 1 (Mine are 9.5” tall x 7.75” wide).

- Apply the wadding to the wrong side of the outer pieces, either by fusing or basting (I basted mine together using my sewing machine at ¼” seam allowance).
Optional: If you want to add a label, now is a great time. I like to sew mine to the bottom right hand corner, approximately 1.5” in from the bottom and side.

- Take one outer piece and one lining piece, place them right sides together along one short edge (The top edge if your fabric is directional). Pin/Clip, then sew along this edge. Repeat with the other two pieces. Open out and press the seam towards the lining.

- Place your two long rectangles right sides together, ensuring that the lining pieces face each other and the outer pieces face each other. Pin or clip around the outside. I like to start in the centre, matching up the seam lines first.
Mark a gap of approx. 2.5” on the short edge of the lining pieces.

- Sew around the outside, leaving the turning gap that you marked in the previous step.

- Trim down the seam allowance to half the width (except on the short lining edge) and snip across the corners. Turn through carefully and poke out the corners. Give it all a good press, including pressing the edges of the gap under.

- Sew up the gap, either by hand or on your machine. This will be on the inside and won’t be seen, so I just use my machine for this step.

- Push the lining inside and use your fingers to neaten up the top edge, then press. Optional – top stitch around the top edge.
To make the bookmark:

- Cut 3 squares, 4” each side. I like to use two of the same fabric and one contrast. Also cut 2 squares of interfacing.

- Fuse the interfacing to the wrong side of your contrast piece and one of your other pieces.

- Fold your contrast piece in half, diagonally, wrong sides together. Press.

- Place your interfaced square right side up, place the triangle down in the top right hand corner, then place the other square face down on top (So everything lines up and the triangular piece is sandwiched in the middle).

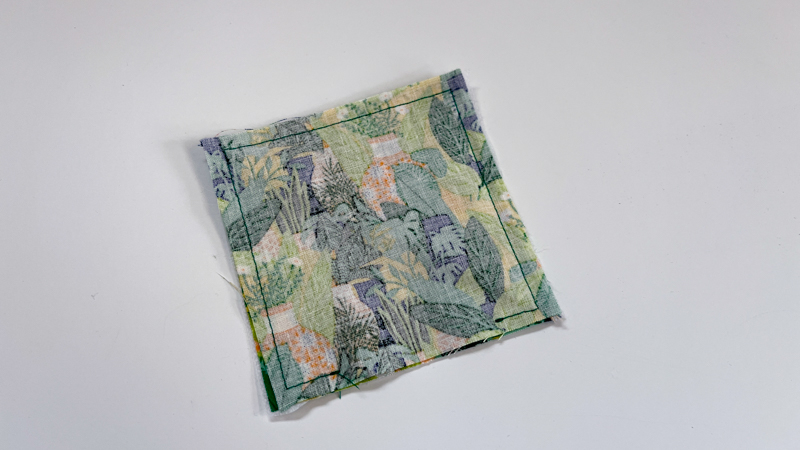
- Pin/clip together, marking a 2” turning gap on the bottom edge. Sew at a ¼” seam allowance, leaving the gap.

- Snip across the corners then turn through carefully, poking out the corners.
- Press, then topstitch around the outside, closing the gap.

If you get stuck on any aspects of the tutorial, please feel free to send me a message and I’ll help.
Share your finished makes on instagram, using the hashtag #SewHayleyJaneFQ and tag me @sewn_on_the_tyne
See you next month,
Tamlyn xx