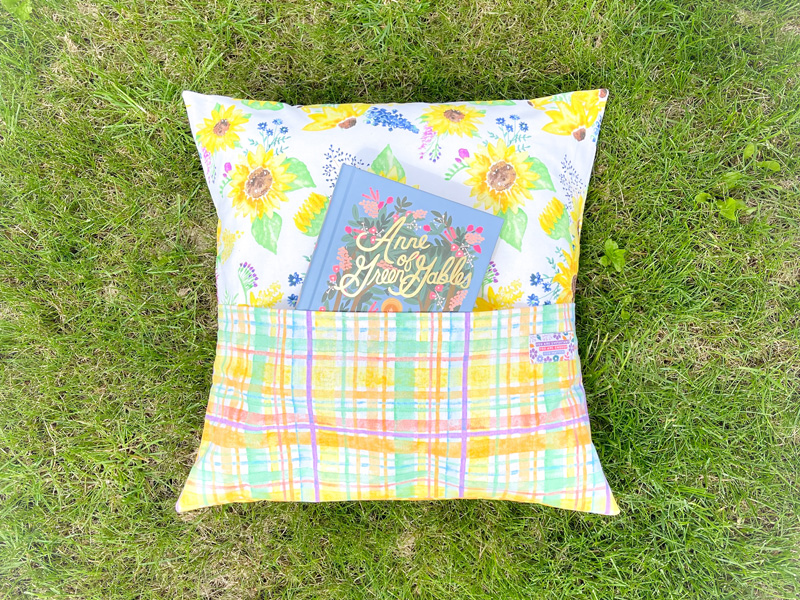
Fat Quarter Project; Reading Cushion

This month’s ‘Lazy Hazy Days’ theme got me thinking about my ideal ‘lazy day’ activity. I love nothing more than relaxing with a good book and a cup of tea, then perhaps closing my eyes for a little daytime snooze.
So with that in mind, I’ve designed a reading cushion for this month’s fat quarter project – the perfect place to store your book that also doubles up as a comfy pillow for that afternoon nap.
You will need:
- Fabric fat quarters – iron these to get any creases/folds out
- Cushion insert – mine is 16” square
- Sewing machine with a universal needle
- Rotary cutter & cutting mat / Fabric scissors
- Ruler / tape measure
- Pins / Clips
Remember to back stitch at the start and end each time you sew – this is essential to secure your stitches.
I’ll be using a ½” seam allowance throughout, unless specified.
- Decide on which fabrics you are going to use for the different parts of your cushion and cut the following sizes:
Front piece: A square the same size as your cushion pad – mine is 16” x 16”
Front pocket: A rectangle the same width as your cushion pad and half the height, with 1” for seam allowance – mine is 16” x 9”
Back pieces: 2 rectangles the same width as your cushion pad and approximately ¾ of the height – mine are 16” x 12”
None of this month’s fat quarters have a directional print, so it makes cutting easier!

- Hem one of the long edges of each rectangle piece. To do this, press over the edge to the wrong side by ½”, then press over by another ½” and top stitch.

- I decided to add a label to my pocket piece at this stage. I chose a lovely Little Rosy Cheeks label – I just love the empowering message – and stitched it towards the top right hand corner of the front pocket piece, remembering to take into account the seam allowance by not sewing it too close to the edge.

- Now we need to layer up the pieces, ready to sew. Place down your front cushion piece (the square), right side up. Place the pocket piece, also right side up, on top of this, ensuring the bottom and side raw edges match up.
Now decide which of your back pieces you want to be most visible on your cushion. Place this down first, wrong side facing up, again matching the raw edges at the top and sides. Finally, place down your other back piece, wrong side facing up, raw edges matching at the bottom and sides. Use clips or pins to secure around the edges.
Hopefully the photo makes this clear!


- Sew around all four edges of your cushion cover.
- Snip across each corner then finish your seams – I just used pinking shears for this.
- Turn your cushion cover right sides out and poke out the corners with a tool (A chopstick or pencil would do!) You may like to give it a little press at this stage.
- Push your cushion pad into your cushion cover and there you go, you’ve made a gorgeous reading cushion. Now pop the kettle on, choose a good book and get ready to relax.


A reading cushion makes the perfect gift for people of all ages, especially if you include a great book with it too.
I hope you enjoy following this tutorial. Share your finished makes on instagram, using the hashtag #SewHayleyJaneFQ and tag me @sewn_on_the_tyne
See you next month,
Tamlyn xx