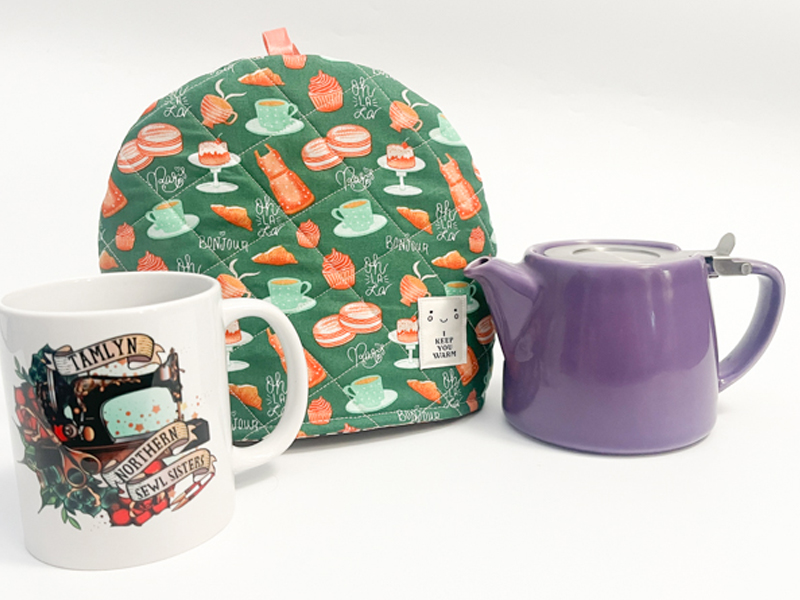
Fat Quarter Tutorial – Tea Cosy

Very much inspired by this month’s theme, as well as a gorgeous make from last month’s Makers’ Gallery (Thank you Jade!) – Here is a quick and easy tutorial to make your very own quilted tea cosy.
You will need:
- 2 fabric fat quarters – iron to get any creases/folds out.
- Insul Bright insulated lining
- Sewing machine with a universal needle
- Thread
- Rotary cutter & cutting mat or fabric scissors
- Tape measure or ruler.
- Quilting ruler
- Chalk
- Pins/clips
- Label (optional)
- Small length of ribbon – approx 5”
Remember to back stitch at the start and end each time you sew – this is essential to secure your stitches.
I will be using a ½” seam allowance throughout, unless specified otherwise.

- First we are going to create a template. Measure around the width of your teapot from spout to handle, add an extra inch for seam allowance. Then measure the height from the bottom, following the curve of the teapot to the top, add an extra inch. Take a sheet of A4 paper and place it portrait in front of you. Draw your height measurement on the left and half your width measurement along the bottom. Now join these two marks with a curved line, to create almost a quarter circle shape. Cut this out.
(NB: These measurements are for a pretty average sized tea pot – you can always adjust them if you wish)

- Now cut 2 lining pieces, 2 outer pieces and 2 insul-bright pieces using the template. IMPORTANT – the tall straight edge should be placed on the fold of the fabric, so when you open it out you have a semi-circle shape.

- Draw quilting lines on the right side of both outer pieces – I measured 1.5” between each line.

- Place the outer pieces on top of the insul-bright pieces, pin, then stitch through all of the quilting lines. Now is the time to sew on a label if you wish!

- Take your ribbon, fold it in half, then stitch to the centre of the top edge of one of the outer pieces, raw edges matching.

- Place your lining pieces and your outer pieces right sides together, then stitch along the bottom straight edge

- Open out your pieces so they are flat. Now place them together so the outer pieces are facing and the lining pieces are facing, right sides together. Ensure your ribbon is tucked to the inside. Pin/Clip and stitch around the outside, leaving a 3” gap for turning on the lining edge. Trim down your seam allowance if you like – this will reduce bulk, but isn’t absolutely necessary.

- Carefully turn your project right sides out and stitch the gap closed by hand or machine.

- Push the lining up into the tea cosy, press and then top stitch all around the bottom edge.
- Optional: Sew a few little tacking stitches by hand to ensure the lining stays up inside the tea cosy – and you’re done!

Now fill that tea pot, pop on the tea cosy and relax!
If you get stuck on any aspects of the tutorial, please feel free to send me a message and I’ll help.
Share your finished makes on instagram, using the hashtag #SewHayleyJaneFQ and tag me @sewn_on_the_tyne
See you next month,
Tamlyn xx