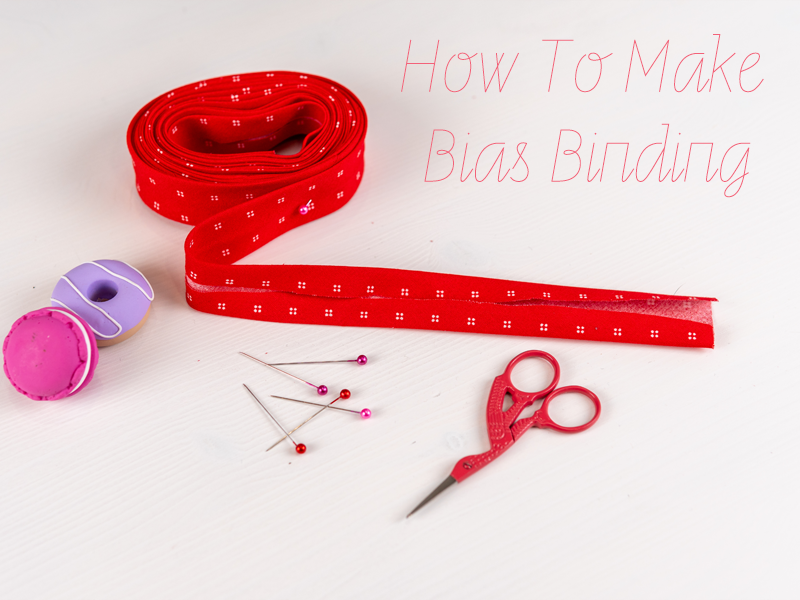
How To Make Bias Binding

Did you know you can make over 4m of continuous bias binding from just one fat quarter? That means no cutting multiple strips and then stitching each one together. Instead you just sew two seams and cut one long strip in one go. Read on to find out how.
Step 1
Iron your chosen fat quarter to get any creases out. Lay it right side up on a flat surface then fold the top left corner down until the left raw edge lines up with the bottom raw edge creating a 45 degree angle along the fold. Cut along the fold.

Step 2
Open the fabric back out flat then take the left short edge and place it right sides together with the right short edge. Pin and sew with a 1cm or 3/8” seam allowance. Iron the seam open.


Step 3
Lay the fabric right side down on the table and mark your lines so that they are parallel with the long sides of your fabric. For extra assurance this is the side of the fabric which will now have the most stretch to it.
I drew lines every 2” which will make 1/2” wide double fold bias binding. Cut off any excess fabric left over.


Step 4
Now comes the fiddliest part. Bring the two short edges together but offset the lines you have drawn so that the end of one side lines up with the first mark on the other side. Pin the two short edges together and just check by tracing with your finger that the drawn lines now become a spiral around the fabric. Sew and iron the seam open.


Step 5
Cut along the lines you drew earlier, spiralling around the loop of fabric. Some of the lines might not match up exactly but if it is a small enough difference you can gently blend as you cut.


Step 6
Finally press the fabric in half along the length of the strip. Open back out and then press the raw edges into the middle fold that you just created. You can use bias tape maker to help with this if you have one. Press again along that original middle fold line. You now have one long length of double fold bias binding.

